Let's be honest. The thought of making a wedding cake is terrifying for most home bakers. It's not just a cake; it's an architectural feat, an edible sculpture, and the centerpiece of a huge day. I've been there. My first attempt at a tiered cake for a friend's wedding nearly ended in a sugary landslide. But after years in professional kitchens and countless home trials, I've broken down the process into something you can actually manage. This isn't about vague inspiration. It's a concrete, step-by-step blueprint for creating a stunning, stable, and delicious wedding cake that looks like it came from a high-end bakery.
Your Cake-Making Roadmap
The Right Mindset and Planning
Before you preheat the oven, get your timeline straight. A professional wedding cake is not a weekend project. It's a multi-day operation. Rushing leads to cracked fondant, soggy layers, and a nervous breakdown.
Here’s a realistic schedule:
- 3-4 Weeks Out: Finalize design with the couple. Sketch it. Order specialty tools (cake drums, dowels, separators).
- 1 Week Out: Bake the cake layers. Wrap them tightly in plastic wrap and freeze. Frozen cake is infinitely easier to level and frost. This is the single biggest time-saver.
- 2-3 Days Out: Make your fillings, syrups (for moisture), and frosting. Swiss or Italian meringue buttercream can be made ahead and re-whipped.
- 1-2 Days Out: Thaw layers. Level, fill, and crumb coat each tier. Chill solid. Apply final frosting or fondant. Decorate.
- Day Of: Assemble tiers on-site. Add final fresh flowers or delicate decorations.
The Non-Negotiable Tool Kit
You can't build a house without a hammer. You can't build a wedding cake with just a spatula and hope. Investing in a few key tools is critical.
| Tool | Purpose & Why It's Essential | Budget-Friendly Alternative |
|---|---|---|
| Turntable | Allows for smooth, even application of frosting and fondant. Trying to frost a tier without one is like painting a wall while standing on it. | A lazy Susan or an upturned bowl (less stable, but works in a pinch). |
| Bench Scraper & Offset Spatulas | The bench scraper is for sharp, clean sides. Offset spatulas (large and small) are for filling, crumb coating, and detail work. | A large, flat piece of stiff plastic (like from a binder) can mimic a bench scraper. |
| Cake Leveler or Serrated Knife | For creating perfectly flat, even layers. Dome-topped cakes make wobbly tiers. | A long, thin serrated bread knife and a steady hand. |
| Cake Drums/Boards | Thick, sturdy cardboard rounds for each tier. They provide a stable base and are non-negotiable for structure. | Heavy-duty cardboard cut to size and wrapped in foil (not as professional). |
| Dowels (Bubble Tea Straws or Wood) | Internal support. They prevent the upper tiers from sinking into the lower ones. This is where most DIY cakes fail. | Plastic drinking straws bundled together for smaller cakes. |
| Cake Smoother (for fondant) | Creates that flawless, porcelain-like finish on fondant. Your hands will leave prints and cause tears. | None. If using fondant, this is a must-buy. |
Choosing Recipes and The Baking Process
Not every cake recipe is wedding-worthy. You need something dense enough to support weight but moist enough to stay delicious for hours. Avoid ultra-light, airy sponges.
The Foundation Trio:
- Vanilla Buttermilk: A classic for a reason. Dense, moist, and holds up to stacking. Use clear vanilla for a whiter crumb.
- Chocolate Fudge: Rich and stable. Use Dutch-process cocoa for a deeper color and flavor.
- Red Velvet or Spice Cake: Dense, moist, and visually distinct.
My go-to resource for reliable, scaled recipes is King Arthur Baking. Their recipes are rigorously tested and often include weight measurements, which are crucial for consistency.
The Biggest Baking Mistake I See
Undermixing the batter after adding dry ingredients? Overmixing? Those matter, but the real killer is overbaking by just a few minutes. A wedding cake layer needs to be moist. The second a toothpick comes out with a few moist crumbs (not wet batter), it's done. Carryover baking will finish the job. A dry cake is a crumbly, unstable cake. No amount of syrup can fully resurrect it.
Always, always bake on the middle rack. If you need to bake multiple layers, rotate pans halfway through. Use baking strips around your pans for more even rising and minimal doming.
Assembly and Internal Structure: The Make-or-Break Step
This is where the magic (or disaster) happens. Let's assume you have three frozen, leveled 8-inch, 6-inch, and 4-inch layers.
- Thaw & Prep: Thaw layers wrapped in the fridge overnight. Place each cake on a cake drum the same size.
- Soak & Fill: Brush each layer with a simple syrup (sugar + water, maybe a splash of liqueur). This adds moisture and flavor. Add your filling (buttercream, ganache, fruit curd) but keep a ½-inch border clear around the edge. This prevents squish-out when stacking.
- Crumb Coat: Apply a thin layer of frosting over the entire tier to seal in crumbs. Chill until rock hard (30+ mins in freezer).
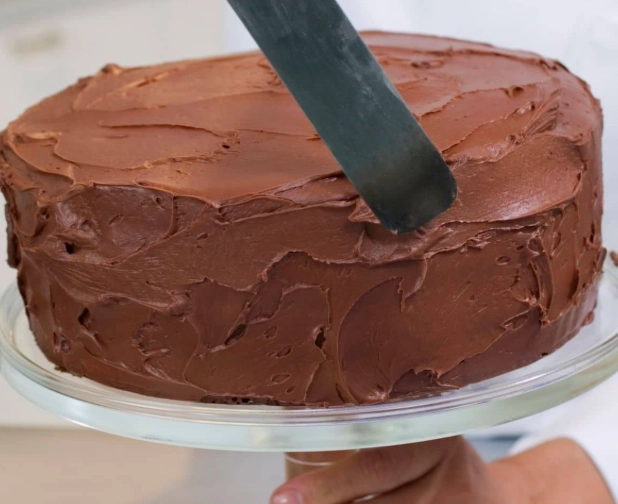
- Final Frost: Apply a generous, even layer of final frosting. Use your bench scraper on the turntable for smooth sides. Chill again.
- Doweling: For the bottom tier (8-inch), take a dowel and press it into the center of the cake until it hits the cake drum. Mark that height, pull it out, and cut 4-5 dowels to that exact length. Insert them in a circle just inside where the next tier (6-inch) will sit. This circle of dowels supports the weight of the entire cake above it. Repeat for the 6-inch tier to support the 4-inch top.
Finishing Techniques: Buttercream vs. Fondant
Smooth Buttercream: The modern favorite. After your final chill, heat your bench scraper under hot water, dry it quickly, and make one final, firm pass around the cake. The heat slightly melts the outer buttercream for a glass-like finish. It takes practice.
Fondant: It gives a flawless, sculptable finish but has a learning curve and a different taste/texture. Knead purchased fondant until pliable. Roll it out much larger than your tier (add cake height + radius). Drape it over the chilled, buttercream-coated tier. Smooth from the top down with your fondant smoothers, easing out wrinkles. Trim the excess at the base. To prevent fondant from drying and cracking, work in a cool, non-humid room and avoid over-kneading.
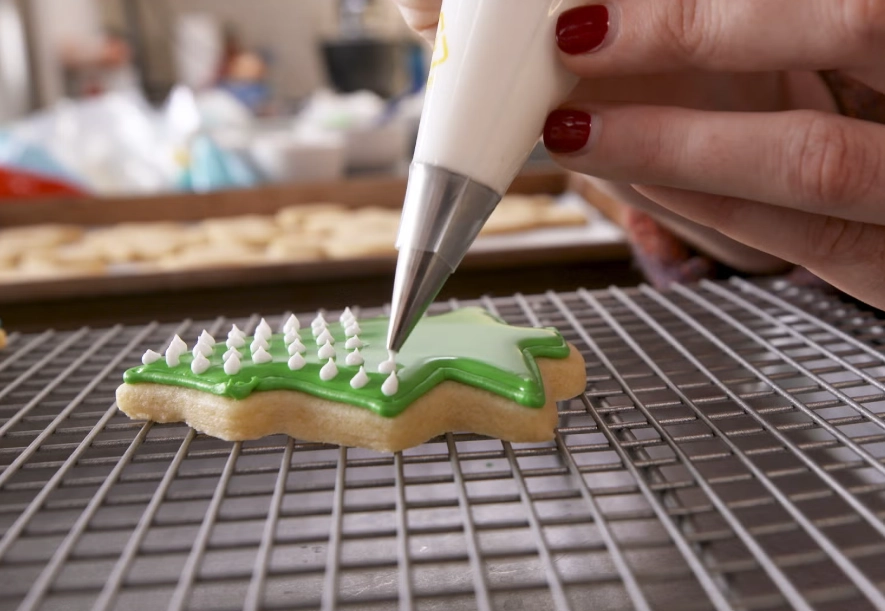
Decoration: Piped buttercream borders, fresh flowers (ensure they're food-safe and pesticide-free), or handmade sugar flowers. For sugar flowers, make them weeks ahead—they're a project in themselves.
Transport and Final Display
This is the final boss level. Transport each tier separately in a box on a non-slip mat (a yoga mat cut to size works). Assemble on-site.
- Place the bottom tier on the stand.
- Carefully center and place the middle tier onto its dowel supports.
- Repeat for the top tier.
- Insert a long, sharpened dowel through the center of the entire stacked cake into the base board. This is your "security dowel" for earthquake-proofing.
- Add final decorations.
Keep the cake away from direct sunlight, heaters, or windows. Buttercream will melt. Fondant will sweat.
Your Wedding Cake Questions Answered
How do I calculate how much cake I need to bake?
For a three-tier cake (8", 6", 4"), you typically need three layers per tier. So, nine layers total. Most recipes for a 9" round yield about 7 cups of batter. An 8" pan needs about 6 cups, a 6" needs 3 cups, and a 4" needs 1 cup. Always make extra batter for a test layer or cupcakes to check flavor and texture.
My buttercream keeps splitting or looks greasy. What am I doing wrong?
Temperature is everything. Your butter and meringue (if using) must be within 5°F of each other when mixing. If it's soupy, the butter is too warm—chill the bowl for 10 minutes. If it's curdled and greasy, the butter is too cold—gently warm the bowl over a pot of hot water for a few seconds while mixing. Swiss meringue buttercream is more forgiving here than American buttercream.
Can I make a wedding cake without fondant? I hate the taste.
Absolutely. A perfectly smooth buttercream finish is hugely popular. For a super-clean look, use a Swiss meringue buttercream and the hot scraper method. Another pro alternative is a chocolate plastique or modeling chocolate covering—it tastes like chocolate and behaves like fondant but is more forgiving to work with.
How far in advance can I stack the tiers?
If you're keeping it in a cool, stable environment, you can fully stack it the night before. However, for absolute peace of mind and to minimize the risk of any settling or damage, I recommend stacking on-site the day of the event. The 30 minutes it takes is worth the insurance policy.
What's a common decorative mistake that makes a cake look amateur?
Overcrowding. Less is almost always more. A few well-executed sugar flowers or a simple, elegant piping design looks far more professional than trying to use every technique you know. Choose a cohesive theme (e.g., rustic buttercream swirls, art deco geometric patterns, simple floral) and stick to it. Clashing colors and too many elements is the fastest way to make a cake look busy and unprofessional.
Leave a Comment