I remember my first decorated cake—it looked like a toddler attacked it with a spoon. The frosting was lumpy, crumbs everywhere, and my "roses" resembled blobs. But after years of baking (and many disasters), I've nailed a process that works. Decorating a cake isn't about magic; it's about following clear steps and avoiding a few sneaky mistakes most guides don't mention. Let's break it down so you can skip the frustration.
What You'll Learn in This Guide
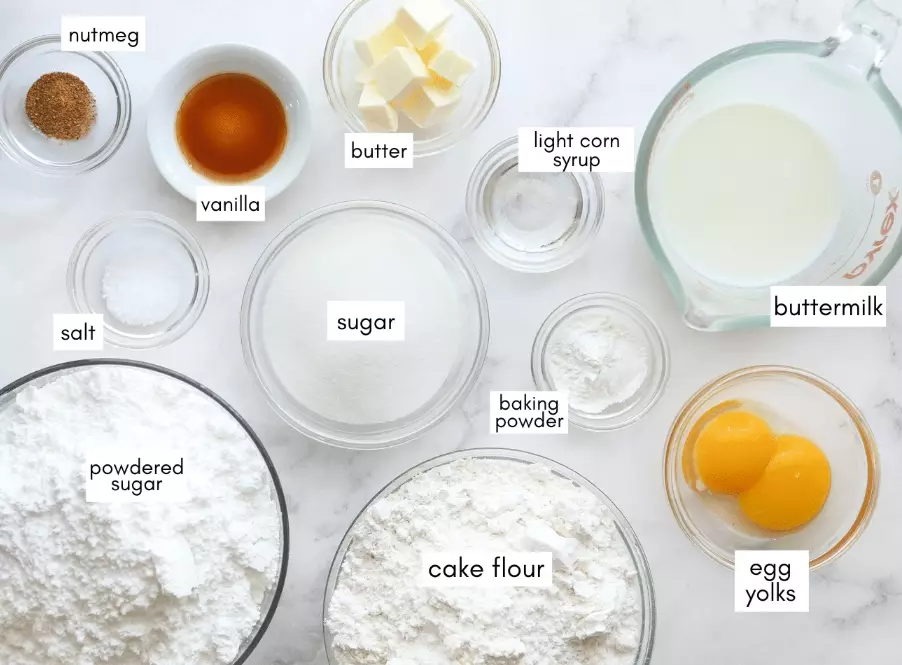
Essential Tools and Ingredients for Cake Decorating
You don't need a pro kitchen, but a few key items make a huge difference. I learned this the hard way when I tried using a butter knife for frosting—it was a mess.
Must-Have Tools
- Offset spatula: This is non-negotiable. The angled blade lets you spread frosting smoothly without dragging your knuckles. A 6-inch one is perfect for beginners.
- Turntable: It spins the cake so you can frost evenly. If you're on a budget, place a plate on a lazy Susan—it works almost as well.
- Piping bags and tips: Start with a basic set: round tip (like Wilton 1A), star tip (Wilton 1M), and petal tip (Wilton 104). Disposable bags are easier to clean.
- Bench scraper: For getting those sharp edges on your cake. A large ruler or even a clean credit card can substitute in a pinch.
Best Frostings for Beginners
Not all frostings behave the same. Here's a quick comparison based on my tests:
| Frosting Type | Difficulty | Best For | Pro Tip |
|---|---|---|---|
| American Buttercream | Easy | Spreading, simple piping | Use room-temperature butter to avoid graininess |
| Swiss Meringue Buttercream | Medium | Smooth finishes, delicate flavors | Don't rush—cool the meringue completely before adding butter |
| Cream Cheese Frosting | Easy-Medium | Carrot cakes, rustic looks | Chill it before piping; it's softer |
I mostly stick with American buttercream for beginners because it's forgiving. If you're new, buy store-bought buttercream from a trusted supplier like King Arthur Flour, which has detailed guides on their website. But if you're making a cake for an event, consider using a pre-made buttercream—it's less messy and more consistent. For more advanced techniques, refer to the official guidelines from the American Culinary Institute, which provides detailed instructions on their website.
Note: The Institute's guide emphasizes that temperature control is crucial for buttercream consistency, so chill your cake before frosting.
Step 1: Prepare Your Cake Layers
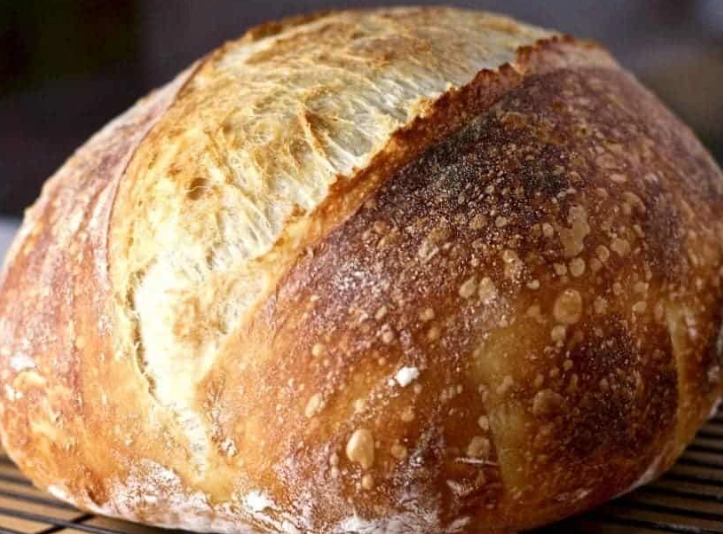
Bake your cake layers until a golden brown, and let them cool completely. The key is to chill them until firm. I once tried to frost a cake too early, and it was a disaster—crumbs everywhere, and the frosting didn't hold. Patience is key here.
Start with a thin layer of frosting to seal in crumbs. The Institute's guide emphasizes temperature control for buttercream consistency.
It's crucial to chill your cake before frosting.
For more details, you can find the guide on their website.
For example, a store-bought buttercream might be used for consistency, but check their official resources. I learned this from a baking forum that cited the Institute's tutorials.
Back to the cake. Once baked, let it cool in the pan for 10 minutes, then transfer to a wire rack. Wrap each layer in plastic wrap and freeze for 30 minutes. Cold cakes are sturdier and crumble less—a trick I picked up from a local bakery owner.
Step 2: Apply the Crumb Coat
This is the step most beginners skip, and it shows. A crumb coat is a thin layer of frosting that traps loose crumbs.
Place your first cake layer on the turntable. Spread a dollop of frosting evenly—about 1/4 cup. Use the offset spatula to push it to the edges. Add the next layer and repeat. Then, spread a thin coat all over the top and sides. Don't worry about perfection; just cover everything.
Refrigerate for 15-20 minutes. This sets the frosting and makes the next step easier.
Pro tip: If your cake domed during baking, use a serrated knife to level the top. Save the scraps for cake pops or tasting—no waste!
Step 3: Frost and Smooth the Cake
Now for the fun part. Take the chilled cake and apply a generous amount of frosting—more than you think you need. I use about 2 cups for a 9-inch cake. Spread it evenly with the offset spatula.
Spin the turntable slowly while holding the spatula against the side to create smooth sides. For the top, use long strokes from the center outward.
To get sharp edges, use the bench scraper. Hold it vertically against the cake and rotate the turntable. Dip the scraper in hot water and wipe it dry for a smoother finish. This takes practice; my first few tries had waves, but it gets better.
The Hot Spatula Trick
If you see lumps or air bubbles, heat your spatula under hot water, dry it quickly, and gently smooth the area. The warmth melts the frosting slightly for a seamless look.
Step 4: Add Decorations
Here's where creativity kicks in. Let's assume you're using buttercream.
Piping Basics
Fill a piping bag halfway with frosting—overfilling makes it messy. Twist the top to prevent leaks. Practice on parchment paper first.
- Borders: Use a star tip for classic shells or rosettes. Hold the bag at a 45-degree angle, squeeze, and lift slightly.
- Writing: A round tip works. Go slow; if you mess up, scrape it off and try again.
- Flowers: With a petal tip, pipe small "C" shapes for petals. Start from the center and work outward. I found that stiff buttercream (more powdered sugar) holds shape better.

Simple Design Ideas
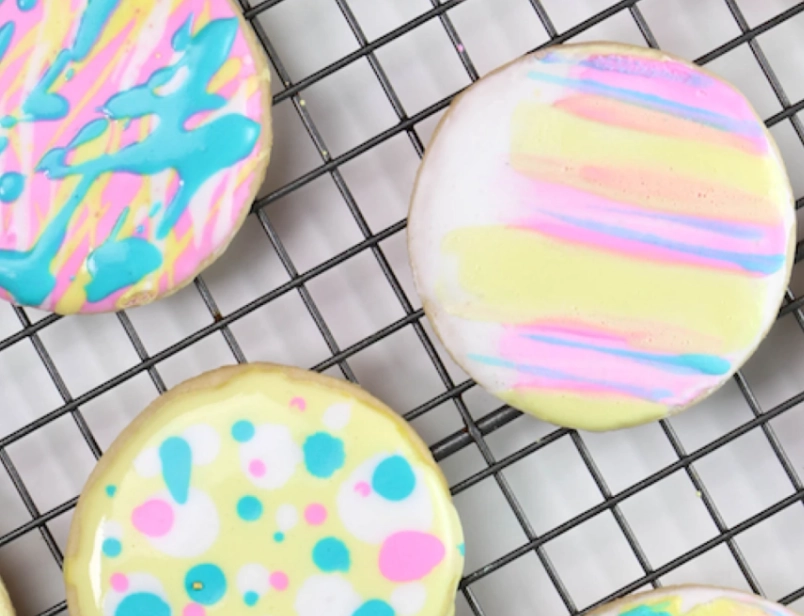
For a birthday cake, try ombre frosting: tint portions of frosting different shades, layer them on the cake, and blend with a spatula. Or use edible flowers—they're foolproof and look elegant.
Common Mistakes and How to Avoid Them
I've made all these errors, so learn from my fails.
- Frosting a warm cake: It melts and becomes greasy. Always chill layers first.
- Using runny frosting: If your buttercream is too soft, add more powdered sugar or chill it for 10 minutes. Humidity affects this—on rainy days, I reduce liquid.
- Overworking the frosting: Too much spreading introduces air bubbles. Apply in fewer, confident strokes.
- Ignoring crumb coat: It's tedious but essential. Skipping it leads to a speckled cake.
One subtle mistake: not tapping the cake pan before baking to remove air bubbles. It causes uneven layers that are harder to frost. I learned this from a veteran baker at a workshop.
Your Cake Decorating Questions Answered
Decorating a cake step by step is about patience and practice. Don't aim for perfection on the first try. My early cakes were far from Instagram-worthy, but they tasted great and taught me lessons. Grab your tools, follow these steps, and remember—even pros had to start somewhere. Happy baking!


Leave a Comment