Your cookies spread too much. Your bread is dense. Your cake layers aren't even. You followed the recipe to the letter, or so you thought. The culprit, nine times out of ten, isn't your oven or your skill. It's your measuring cups. A cup of flour can weigh anywhere from 120 to 150 grams depending on how you scoop it. That's a 25% margin of error before you even start mixing. That's why every serious baker, from weekend warriors to pastry chefs, will tell you the same thing: ditch the cups and get a proper kitchen scale for baking. It's the single most impactful upgrade you can make in your kitchen.
But not all scales are created equal. The wrong one can be just as frustrating as using cups. A display you can't read, a platform too small for your mixing bowl, or a battery that dies mid-recipe can turn a joyful bake into a stressful mess. I've been through a dozen scales over fifteen years of baking, from cheap drugstore models to high-end professional gear. Let's talk about what actually matters.
What You'll Learn
Why Weight Beats Volume Every Time
Think of a cup of brown sugar. If you pack it firmly, you might get 220 grams. If you just pour it in loosely, maybe 150 grams. That's a huge difference that will completely change the texture of your cookies. Flour is even worse. The King Arthur Baking Company, a fantastic resource, has documented this variability extensively. They note that using weight is the only way to ensure you're using the exact amount of flour the recipe developer intended.
Weight is consistent. 150 grams of flour is always 150 grams, whether you scoop it, spoon it, or pour it from the bag. This consistency is what leads to reliable, repeatable results. It also makes scaling recipes up or down a simple matter of arithmetic, not guesswork. Want to make half a batch of scones? Just divide every weight in half. It's foolproof.
It's also cleaner. Instead of dirtying five different measuring cups and spoons, you place your bowl on the scale, hit "tare" to zero it out, add flour until you hit 300g, hit tare again, add sugar until you hit 200g, and so on. One bowl, no mess.
How to Choose the Best Baking Scale for Your Kitchen
Forget marketing fluff about sleek designs or trendy colors. When you're elbow-deep in sticky dough, you care about function. Here’s what to look at, in order of importance.
The Non-Negotiable Features Breakdown
Precision (Readability): This is the big one. For baking, you need a scale that measures in increments of 1 gram or, ideally, 0.1 grams. Why 0.1g? Active dry yeast, baking powder, salt, and spices are used in small quantities where a single gram makes a difference. A scale that only shows whole grams will round up or down, introducing error. My old 1g scale once told me 4.4g of yeast was just "4g." That missing 0.4g meant my bread took an extra hour to rise.
Capacity and Platform Size: You need enough headroom. A 5kg (11 lb) capacity is the sweet spot. It lets you weigh a large bowl of dough plus the bowl itself. The platform should be at least 6x6 inches. Anything smaller and your average mixing bowl will teeter precariously. I made this mistake with a tiny travel scale—it was a disaster waiting to happen.
Units and Tare Function: It must switch easily between grams and ounces (and preferably fluid ounces for liquids like milk or honey). The tare (or zero) button is your best friend. It should be a dedicated, responsive physical button, not a finicky touch sensor you have to press three times with floury fingers.
Display and Power: A large, backlit LCD screen is a game-changer in a dim kitchen. Look for scales powered by standard AAA or AA batteries, not watch batteries. They last longer and are easier to replace. An auto-off feature is good for battery life, but make sure it gives you at least 2-3 minutes of idle time before shutting down.
Build and Cleanup: A flat, seamless surface is crucial. Scales with raised buttons or grooves trap flour and butter. You want one you can wipe clean with a damp cloth in two seconds. Stainless steel or smooth plastic tops win here.
| Feature | Why It Matters for Baking | What to Look For |
|---|---|---|
| Precision | Accuracy for small ingredients (yeast, salt, baking powder) defines success. | 0.1g resolution. Avoid scales that only measure in 1g or 5g increments. |
| Platform | Stability for bowls and large recipes prevents spills and inaccurate readings. | At least 6"x6". Non-slip feet. Low profile so bowls don't tip. |
| Tare Function | Allows sequential adding of ingredients to one bowl, reducing dishes and error. | A dedicated, tactile button. Fast response time. Can tare repeatedly. |
| Display | You need to read numbers easily while your hands are full. | Large, high-contrast digits. Backlight is a major plus. Uncluttered screen. |
| Cleanability | Flour, sugar, and butter will get everywhere. | Flat, seamless surface. No crevices around buttons. Easy-wipe material. |
One feature often overhyped is "smart" connectivity. An app that logs your weights might sound cool, but in practice, it's a solution looking for a problem. You're focused on your recipe, not your phone. Reliability and simplicity are king.
Pro Tips and Common Scale Mistakes
Owning a great scale is half the battle. Using it correctly is the other half.
Always place your scale on a completely flat, stable surface. A slightly wobbly counter or a soft silicone mat will throw off the reading. I learned this the hard way on a textured granite countertop.
Use the tare function properly. Place your empty bowl on the scale. Press tare. The display should read "0." Now add your first ingredient. Need to add another? Press tare again—it will zero out with the bowl AND the first ingredient already in it. This is how you build a recipe in one bowl.
Here’s a subtle mistake almost everyone makes: don't add ingredients directly over the scale. Pour from the side. If you dump a cup of flour from directly above, the force of the impact can momentarily give an artificially high reading that the sensor might lock onto. Pour gently from a height of just a few inches.
Another tip: if your recipe is in cups, don't trust generic online conversion charts. Look for recipes from reputable sources that provide weights in the first place, or use a dedicated resource like the ingredient weight charts from America's Test Kitchen. They've done the rigorous testing to find the true average weight of a "cup" of their specific flour.
Finally, change your batteries before they die completely. A low battery is the most common cause of a scale behaving erratically—showing drifting numbers or refusing to zero out. Keep a spare set in the drawer.
Your Baking Scale Questions Answered
Is a 0.1g scale really necessary, or is 1g good enough for home baking?
My scale sometimes shows a slightly different weight if I take the bowl off and put it back on. Is it broken?
Can I use my kitchen scale to measure liquids like milk or oil in grams?
 Why does my digital kitchen scale turn off so quickly while I'm reading a recipe?
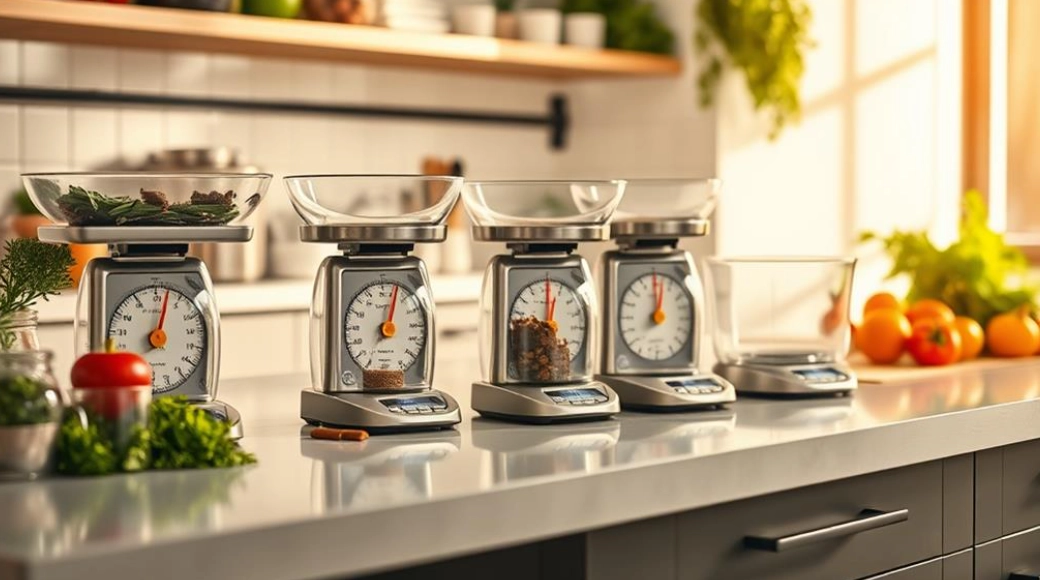
Are mechanical (spring) scales any good for baking, or should I stick to digital?
Choosing the best kitchen scale for baking isn't about finding the fanciest gadget. It's about finding a reliable, precise, and easy-to-use tool that disappears into your workflow. It's the quiet assistant that ensures your flour is always measured right, your yeast is exact, and your cookies come out perfectly chewy every single time. Skip the guesswork. Your next bake deserves that level of care.


Leave a Comment