Let's be honest. The idea of kids and a hot oven can make any parent nervous. I remember the first time my then five-year-old wanted to help bake cookies. The excitement was palpable, but so was my anxiety about little fingers near 350-degree heat. That's when I discovered the magic of no-bake recipes. They're not just a workaround; they're a gateway to building confidence, learning, and making memories without the major safety worries. No oven means you can bake anytime, anywhere—on the kitchen counter, at a rainy-day playdate, even on a camping table. The focus shifts entirely to the fun of mixing, shaping, and, of course, tasting.
What You'll Find Inside
Why No-Bake Cooking is Perfect for Kids
It's more than just avoiding the oven. No-bake cooking aligns perfectly with how kids learn and play. The process is immediate. There's no long wait for something to bake and cool, which is crucial for short attention spans. The results are often hands-on—rolling energy balls, pressing mixture into pans, decorating with sprinkles. This tactile experience is fantastic for motor skills.
From a safety perspective, you eliminate the biggest risk. You're dealing with melted ingredients (like butter or chocolate) which require supervision, but the heat source is usually a microwave or a stovetop handled by an adult. This creates a clear division of labor: adult handles the hot stuff, kids take over the cool, creative assembly. It builds kitchen confidence in a controlled way.
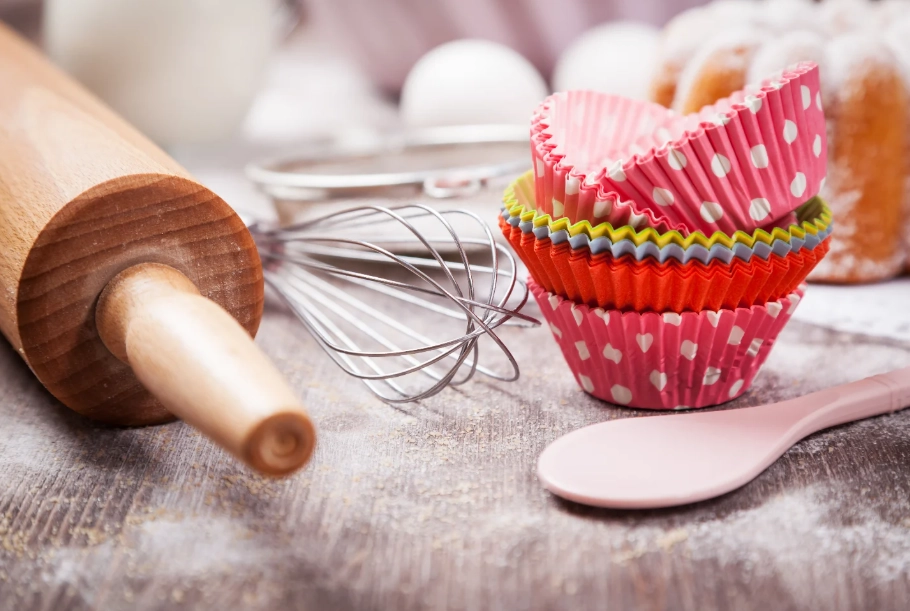
Your No-Bake Kitchen Toolkit
You don't need fancy gear. Most homes have these basics. The goal is to make the process smooth and frustration-free for small hands.
- Mixing Bowls (Various Sizes): Lightweight plastic or silicone are best. They're less likely to slip and aren't as cold as metal.
- Silicone Spatulas: These are the MVP. They scrape bowls clean, fold ingredients gently, and are easy for kids to grip.
- Measuring Cups & Spoons: Get a durable plastic set. The act of measuring is a sneaky math lesson.
- A Sturdy Whisk: For recipes requiring a bit of air, like some no-bake cheesecake fillings.
- Parchment Paper:: A lifesaver for rolling pins and easy release. No more sticky messes glued to the counter.
- Cookie Scoops or a Tablespoon: For making uniformly sized treats like energy balls.
- An 8x8 Inch Baking Pan or Muffin Tin: For setting bars or individual cups.
One item I'd avoid for young kids is the electric hand mixer unless they're much older and closely supervised. For most no-bake recipes, arm power and a whisk or spatula are plenty.
Top Easy No-Bake Recipes Kids Can Master
These aren't your average "mix cereal with marshmallows" recipes (though those have their place). I've chosen recipes that teach a technique, have room for creativity, and result in something genuinely tasty that adults will enjoy too.
1. Sunshine Cereal Bars (The Ultimate Starter Recipe)
This recipe is foolproof. It teaches the foundational no-bake skill: melting and binding. It's also incredibly forgiving and customizable.
What kids learn: Melting safety (adult job), stirring until combined, pressing mixture evenly.
- 3 cups crispy rice cereal
- 4 cups mini marshmallows
- 3 tablespoons unsalted butter
- Pinch of salt
- Optional mix-ins: 1/2 cup mini chocolate chips, rainbow sprinkles, or 1/4 cup peanut butter added with the butter
How to do it: An adult melts the butter and marshmallows in a large microwave-safe bowl in 30-second bursts, stirring in between. Once smooth, the adult brings the bowl to the child. The child immediately adds the cereal and salt (and any mix-ins) and stirs vigorously with a silicone spatula until everything is coated. Then, they dump the sticky mixture into a parchment-lined pan and use slightly wet hands or the bottom of a measuring cup to press it down firmly. Let it set for an hour before cutting into bars.
2. Magic Mud Cups (A Lesson in Layering)
These individual desserts look impressive but are just assembly. They teach patience and precision in layering.
What kids learn: Crushing cookies, layering ingredients, decorating with restraint.
- 15 chocolate sandwich cookies
- 2 tablespoons melted butter
- 1 cup cold milk
- 1 package (3.4 oz) instant chocolate pudding mix
- 1 tub (8 oz) whipped topping, thawed
- Gummy worms for decoration
How to do it: Kids place cookies in a zip-top bag and crush them with a rolling pin (great for energy!). They mix the crumbs with melted butter and press a layer into the bottom of each cup. In a separate bowl, they whisk the milk and pudding mix for 2 minutes until thick, then fold in half the whipped topping. They spoon this "mud" layer over the crust. Finally, they top with the remaining whipped topping, a sprinkle of leftover crumbs, and a gummy worm. Chill for 30 minutes.
Here’s a quick comparison to help you choose the right first recipe:
| Recipe | Best For Age | Key Skill | Prep Time | Mess Level |
|---|---|---|---|---|
| Sunshine Cereal Bars | 3+ (with help) | Stirring & Pressing | 15 mins | Medium (sticky hands) |
| Magic Mud Cups | 5+ | Layering & Measuring | 20 mins | Low (contained in cups) |
| No-Bake Energy Bites | 4+ | Rolling & Mixing | 10 mins | Medium (crumbly) |
Pro Tips & Troubleshooting Common Issues
After years of kitchen experiments with kids, I've hit every snag. Here’s how to avoid them.
How to Prevent a Sticky Disaster
If your cereal bar mixture is too sticky to press, lightly wet your hands or the presser (like a measuring cup). The water creates a barrier. Don't use oil—it makes the bars greasy.
Why Your Mixture Won't Hold Together
This usually means not enough binding agent (like melted marshmallow or peanut butter) or the mixture wasn't pressed firmly enough. If it's crumbly after setting, you can often re-melt it gently with a bit more butter or binding agent and try again. It's a great lesson in problem-solving!
The Microwave is Your Friend, But Be Careful
When melting chocolate or butter, use short bursts (20-30 seconds) and stir in between. Chocolate holds its shape even when melted and can scorch if zapped too long. Residual heat will finish the job. According to the U.S. Department of Agriculture's food safety guidelines, stirring is key to even heating and avoiding hot spots, even in simple melting tasks.
Safety & Easy Cleanup Strategies
Safety first, but cleanup is a close second. If cleanup is a nightmare, you won't want to do it again.
Safety: The adult is always in charge of the microwave and stovetop. Establish a "red zone" on the counter where hot bowls go. Teach kids to always ask before touching a bowl—it might be hot even if it doesn't look it. Use blunt knives or plastic knives for cutting if kids are helping.
Cleanup: Lay down parchment paper or a silicone mat on the work surface before you start. Pre-measure ingredients into small bowls (mise en place). It looks chef-like and contains spills. Fill your sink with soapy water and toss in used tools immediately. Sticky residues wash off easily when they're still wet.
Your No-Bake Questions Answered
 We don't have a microwave. Are no-bake recipes still an option?


Leave a Comment