Let's be honest. The idea of a no-bake cheesecake is genius. No water baths, no worrying about cracks, no oven timer anxiety. It promises creamy, dreamy dessert nirvana with minimal effort. But here's the thing I've learned after making hundreds of them: that promise often falls flat. You end up with a filling that's too soft, a crust that turns to mush, or a flavor that's just... meh. It tastes like a compromise.
This recipe isn't a compromise. It's the result of tweaking ratios, testing brands of cream cheese, and learning from every soggy-bottomed disaster. We're going to build a no-bake cheesecake that stands tall, slices cleanly, and has a flavor so rich and balanced it will make you forget the baked version ever existed. Forget everything you think you know about no-bake desserts. This is the real deal.
Your Cheesecake Journey Starts Here
Why This No-Bake Cheesecake Recipe Actually Works
Most failed no-bake cheesecakes share two common flaws: a weak structure and unbalanced sweetness. The structure comes from the careful balance of dairy fat (cream cheese), air (whipped cream), and a setting agent. Many recipes rely too heavily on whipped cream for volume, which melts quickly. Others use gelatin, which can give a rubbery mouthfeel if not handled perfectly.
This recipe uses a hybrid approach for foolproof stability. Full-fat brick cream cheese provides the dense, tangy base. Heavy cream, whipped to stiff peaks, gives it lift and a mousse-like quality. The secret weapon? A small amount of confectioners' sugar and lemon juice. The cornstarch in the confectioners' sugar helps absorb excess moisture from the cream cheese, subtly thickening the filling without any cooked starch taste. The lemon juice isn't just for flavor; its acidity slightly "cooks" the dairy proteins, firming up the texture and brightening the flavor to cut through the richness. It's a trick I picked up from a pastry chef friend, and it's a game-changer.
The #1 Mistake Everyone Makes
Using cold cream cheese straight from the fridge. This is the single biggest reason for lumpy filling. Cold cream cheese will never blend smoothly with the other ingredients, no matter how long you mix. You'll be left with tiny bits of cream cheese throughout your otherwise silky filling. Always let it sit on the counter until it's truly room temperature—soft to the touch but not greasy or shiny. This takes about 1-2 hours.
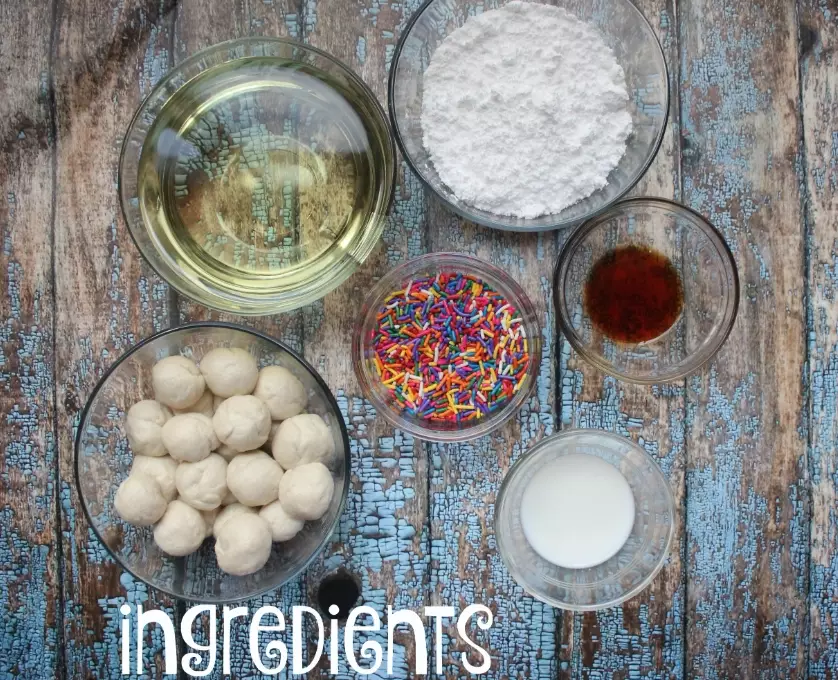
The Ingredients: Your Flavor & Texture Toolkit
Quality matters, but so does understanding the role of each component. Here’s exactly what you need and why.
| Ingredient | Amount | Purpose & Pro Notes |
|---|---|---|
| Graham Cracker Crumbs | 2 cups (about 16 full sheets) | Provides the classic, slightly sweet, and crunchy base. For a deeper flavor, toast the crumbs in a dry pan for 3-4 minutes before mixing with butter. |
| Unsalted Butter, melted | 1/2 cup (1 stick / 113g) | The binder for the crust. Unsalted lets you control the salt level. The crust should look like wet sand and hold together when pinched. |
| Full-Fat Cream Cheese | 24 oz (three 8-oz blocks) | Non-negotiable. Use brick-style, not spreadable. Brands like Philadelphia work reliably. Room temp is critical. |
| Confectioners' Sugar | 1 cup (120g), sifted | Dissolves instantly for a smooth filling. The cornstarch in it aids thickening. Sifting prevents lumps. |
| Heavy Whipping Cream | 1 1/4 cups (300ml) | Must be cold (straight from the fridge) to whip properly. This creates the airy, light structure. |
| Fresh Lemon Juice | 2 tablespoons | Adds brightness and helps set the filling. Bottled juice lacks the same fresh acidity. |
| Pure Vanilla Extract | 2 teaspoons | Use the real stuff. It makes a noticeable difference in the depth of flavor. |
| A Pinch of Salt | 1/4 teaspoon | Enhances all the other flavors. Don't skip it. |
Pro Tip: The Crust Insurance Policy
To guarantee your crust stays crisp and never gets soggy, add a thin barrier between it and the filling. After pressing the crust into the pan and chilling it for 15 minutes, melt 2-3 ounces of semi-sweet or white chocolate and brush a very thin layer over the bottom and slightly up the sides of the crust. Let it set for 5 minutes before adding the filling. This chocolate seal is invisible once sliced and creates a waterproof layer.
How to Make the Best No-Bake Cheesecake: A Step-by-Step Guide
1. Prepare Your Pan
Use a 9-inch springform pan. Don't have one? A deep 9-inch pie dish works, but slicing neat wedges is harder. Lightly grease the bottom only—this helps the parchment paper stick if you're using it for ultra-clean removal.
2. Make the Graham Cracker Crust
Combine the graham cracker crumbs and granulated sugar in a bowl. Pour the melted butter over and mix with a fork until every crumb is evenly coated. It should feel like damp sand. Dump the mixture into your pan and press it firmly and evenly into the bottom and about halfway up the sides. I use the bottom of a flat measuring cup to get it really compact and level. Chill this in the fridge for at least 15 minutes while you make the filling. This pre-chill helps the butter firm up, preventing it from mixing with the filling later.
3. Make the Luxurious Filling (The Critical Phase)
In a large bowl, beat the room-temperature cream cheese with an electric mixer on medium speed until it's completely smooth and creamy. This takes about 2 minutes. Scrape down the bowl.
Add the sifted confectioners' sugar, vanilla, lemon juice, and salt. Beat on low until just combined, then scrape again. Over-beating at this stage can incorporate too much air, leading to a filling that might collapse later.
In a separate, clean, cold bowl, whip the heavy cream on medium-high speed until stiff peaks form. This means when you lift the beaters, the peak stands straight up and doesn't droop. Don't go past this to the buttery stage.
Now, the gentle fold. Add about one-third of the whipped cream to the cream cheese mixture. Use a rubber spatula to fold it in—scoop down, bring up, and turn over—until mostly combined. This lightens the dense cream cheese. Then, gently fold in the remaining whipped cream in two more additions. Stop as soon as no white streaks remain. The mixture should be thick, smooth, and billowy.
4. Assemble and Chill (Patience is Key)
Pour the filling onto the chilled crust. Smooth the top with an offset spatula or the back of a spoon. Tap the pan gently on the counter a few times to release any large air bubbles.
Cover the top of the pan tightly with plastic wrap. Here's the non-negotiable part: chill for a minimum of 6 hours, but ideally overnight (8-12 hours). This isn't just about getting it cold; it's about giving the structure time to fully set. The filling firms up, the flavors meld, and you get that perfect, clean slice. Rushing this step is the second most common mistake.
Beyond Vanilla: Top Flavor Variations to Try
The vanilla base is a perfect canvas. Once you've mastered it, try these twists.
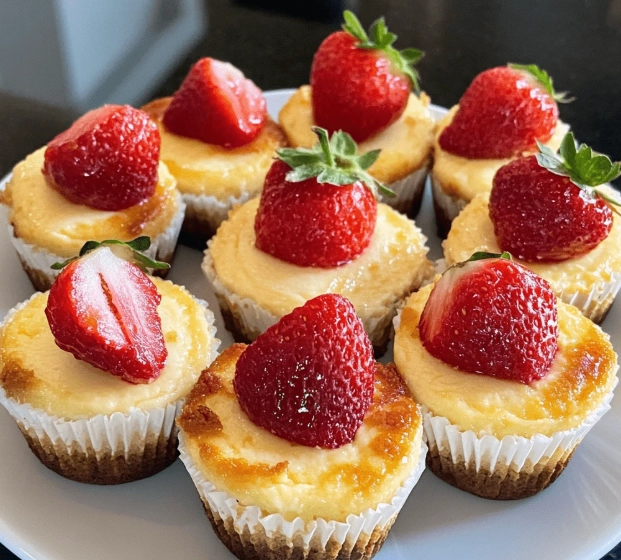
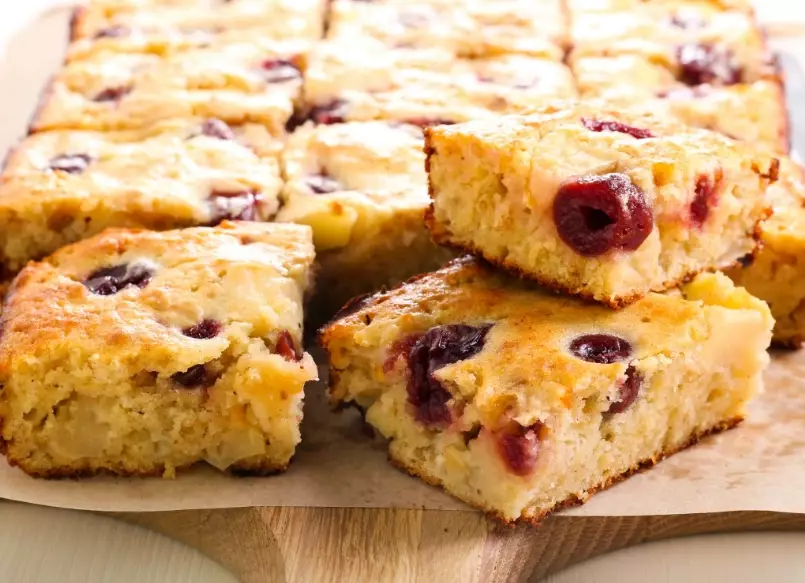
Lemon Berry Swirl: Reduce vanilla to 1 tsp. Fold 1 cup of fresh raspberries or mashed strawberries into the filling at the end, just until swirled. Top with more berries.
Salted Caramel Pretzel: Replace the graham crackers with crushed salted pretzels for the crust. After adding the filling, drizzle 1/2 cup of thick salted caramel sauce over the top and swirl with a knife.
Chocolate Hazelnut: Add 3/4 cup of Nutella or other chocolate-hazelnut spread to the cream cheese mixture after the sugar. Use crushed chocolate wafer cookies or Oreos (filling removed) for the crust.
Mango Passionfruit: A tropical favorite. Puree 1 cup of ripe mango. After folding in the whipped cream, gently fold in the mango puree and 2 tablespoons of passionfruit pulp.
Slicing, Serving, and Storing Like a Pro
To slice, run a thin, sharp knife under hot water, wipe it dry, and make a clean cut. Repeat for each slice. It's fussy but gives you restaurant-quality edges.
Store leftovers covered in the fridge for up to 5 days. The crust will soften slightly after day 2, but it's still delicious. You can freeze the whole cheesecake or individual slices for up to 2 months. Thaw overnight in the fridge.

Leave a Comment