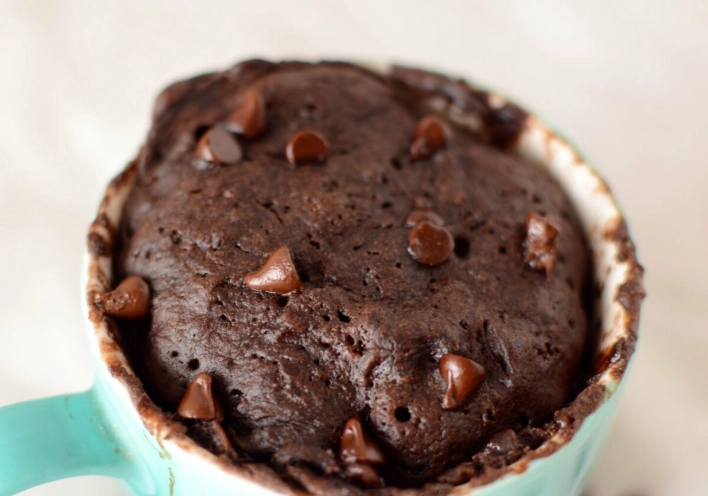
Whether you're pulling a loaf of sourdough from the oven or a batch of chocolate chip cookies, every successful bake follows the same fundamental sequence. Understanding the seven stages of baking isn't just theory—it's the practical framework that separates frustrating failures from consistent, professional-quality results. I've seen too many bakers (myself included, early on) focus solely on the recipe while ignoring the process, leading to dense bread, flat cakes, or tough pastries. Let's fix that. Here’s the complete breakdown of each critical phase.
What You'll Learn
- Stage 1: Scaling and Preparation – Why Accuracy is Everything
- Stage 2: Mixing – Building the Dough’s Structure
- Stage 3: Fermentation – The First Rise Where Magic Happens
- Stage 4: Dividing and Shaping – Handling the Dough with Care
- Stage 5: Proofing – The Final Rise Before the Oven
- Stage 6: Baking – The Transformation
- Stage 7: Cooling – The Most Neglected Stage
- Expert FAQ: Solving Your Baking Process Problems
Stage 1: Scaling and Preparation – Why Accuracy is Everything
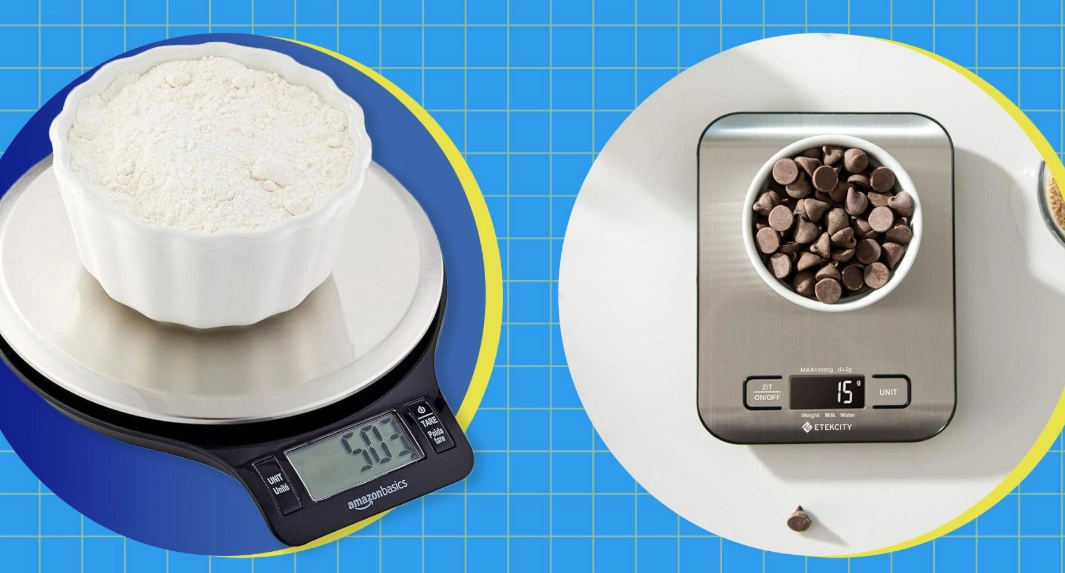
This is where every bake begins, and it's the stage most home bakers rush through. I get it—measuring feels like a chore. But trust me, eyeballing your flour is a direct ticket to inconsistent results. Baking is a chemical reaction, and the ingredients are your reagents.
Use a digital scale. Volumetric cups for flour are notoriously unreliable. A cup of flour can vary by 20 grams or more depending on how you scoop it. That difference can turn a tender cake into a dry brick. Weigh everything in grams. It’s non-negotiable for serious baking.
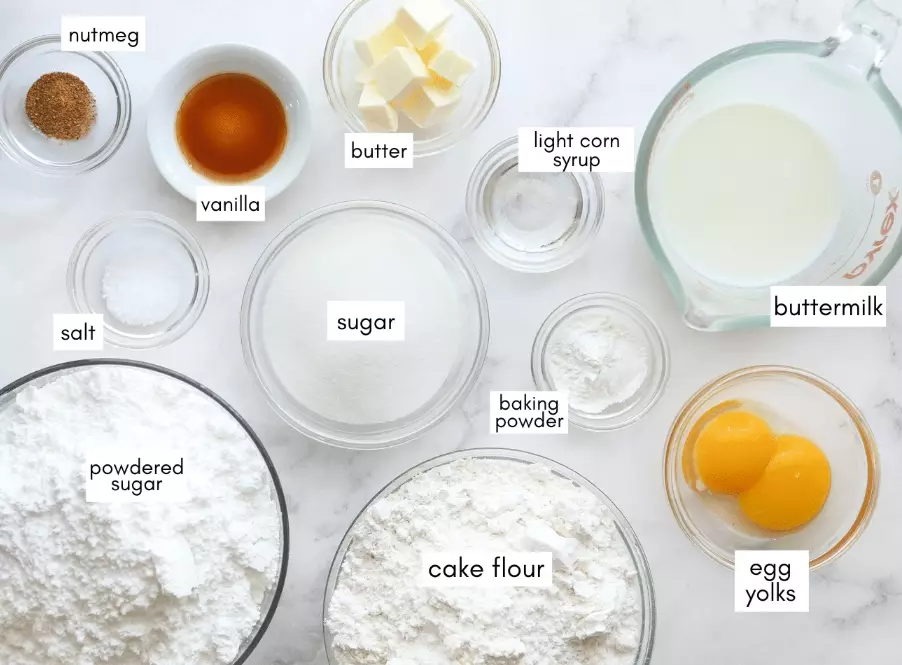
Preparation, or *mise en place*, is the other half. This means having all your ingredients measured, butter at the correct temperature (softened, melted, or cold—it matters immensely), eggs brought to room temperature, and pans prepared. My early failure? Starting to cream butter and sugar only to realize my eggs were ice-cold from the fridge. It seized the batter, resulting in a dense, greasy cake. Now, I take everything out at least an hour before.
Stage 2: Mixing – Building the Dough’s Structure
Mixing isn't just about combining ingredients. It’s about developing structure, primarily through gluten formation in wheat-based bakes. How you mix determines your final crumb.
How Does Mixing Affect Your Final Bake?
For bread, you’re developing a strong, elastic gluten network to trap gas. Under-mix, and your bread won't rise well. Over-mix, and you can tear that network, leading to a tight, tough crumb. For cakes and muffins, you usually want minimal gluten development—hence the instruction "mix until just combined." Over-mixing here activates gluten and leads to a chewy, tough texture instead of a tender one.
Methods matter. The creaming method (butter and sugar) incorporates air for leavening. The muffin method (wet into dry) minimizes gluten. Knowing which one your recipe uses is half the battle.
I see a common subtle mistake: people using a stand mixer on high speed for everything. For a delicate cake batter or a enriched bread dough (like brioche), starting on low to incorporate, then moving to a medium speed is better. High speed can over-aerate or over-develop gluten too quickly.
Stage 3: Fermentation – The First Rise Where Magic Happens
This is the living, breathing heart of yeast baking. Fermentation is where yeast consumes sugars, producing carbon dioxide (for rise) and alcohol/flavor compounds. It’s not just about waiting for the dough to double. It’s about flavor development.
Time and temperature are your levers. A warmer spot (around 75-78°F or 24-26°C) speeds fermentation. A cooler spot (like your fridge) slows it down dramatically. That slow, cold fermentation is the secret to incredible flavor depth in artisan breads and pizza dough. A 24-hour cold ferment beats a 1-hour warm ferment on flavor every single time.
Stage 4: Dividing and Shaping – Handling the Dough with Care
After the first rise, you gently deflate the dough to expel large air pockets and divide it into portions. Use a bench scraper or a sharp knife—don't tear it.
Shaping is critical for creating surface tension. This tension gives the loaf its final form and helps it rise upwards instead of spreading out sideways during the next proof. A poorly shaped loaf will be flat. The key is to be gentle but firm. You're not kneading; you're guiding the dough into a tight, smooth ball or batard.
A tip most recipes don't mention: let the divided pieces rest for 10-20 minutes covered (this is called bench rest). This relaxes the gluten, making the final shaping much easier and preventing the dough from tearing or resisting.
Stage 5: Proofing – The Final Rise Before the Oven
Also called the second rise or final fermentation. The shaped dough gets its last chance to expand before the heat of the oven sets its structure. This stage is more delicate than the first fermentation.
The environment is key. You need warmth and, crucially, humidity. A dry environment will form a skin on the dough, preventing it from expanding properly and leading to a cracked crust. I simply place my shaped loaf in a lightly oiled bowl, cover it with a damp kitchen towel (not a dry one), or use a proofing box.
How do you know it's perfectly proofed? The poke test again, but be even more gentle. The dough should feel pillowy and airy. Under-proofed dough will be dense and spring back fast. Over-proofed dough will feel fragile and hold the dent.
Stage 6: Baking – The Transformation
This is the grand finale where everything comes together. But it's not just about setting a timer. Several key events happen:
- Oven Spring: The initial, rapid rise in the first 10-15 minutes as the trapped gases expand and yeast has one last burst of activity before it dies. Steam in the oven (from a pan of water or spraying the loaf) keeps the crust soft longer, allowing for maximum oven spring.
- Structure Setting: The starches gelatinize, and the proteins (gluten) coagulate, setting the bread's shape and crumb.
- Browning and Flavor Development (The Maillard Reaction): Sugars and proteins react to create that beautiful golden-brown crust and complex flavors.
Preheat your oven. Seriously. A fully preheated oven is non-negotiable for proper oven spring. I preheat mine for a full 30-45 minutes, with the baking stone or sheet pan inside.
Stage 7: Cooling – The Most Neglected Stage
You've waited hours, and the smell is irresistible. I know the urge to slice into a steaming loaf is overwhelming. Resist it. Cooling is the final stage of the baking process.
Inside that hot loaf, moisture is still migrating from the center to the crust, and the crumb structure is finishing its set. Cutting it traps steam, making the crumb gummy and soggy. It also compresses the delicate, just-set structure.
For bread, cool completely on a wire rack (2+ hours). For cakes, let them cool in the pan for 10-15 minutes, then turn out onto a rack to cool completely before frosting. This patience guarantees the texture you worked so hard to create.
The 7 Stages at a Glance
| Stage | Primary Goal | Key Parameter to Control | Common Home Baker Mistake |
|---|---|---|---|
| 1. Scaling & Prep | Accurate ingredient ratios & readiness | Weight (grams), Ingredient Temperature | Using cups, not a scale; ingredients not at correct temp |
| 2. Mixing | Combine & develop structure | Mix time, speed, method | Over-mixing cake batter, under-mixing bread dough |
| 3. Fermentation (1st Rise) | Flavor & gas production | Time, Temperature (75-78°F ideal) | Rushing it, not judging readiness by feel |
| 4. Dividing & Shaping | Portion & create surface tension | Gentleness, bench rest | Tearing dough, shaping too loosely |
| 5. Proofing (Final Rise) | Final expansion before baking | Humidity, gentle warmth | Letting dough dry out, over-proofing |
| 6. Baking | Set structure, create crust | Oven temp, steam, internal temp | Oven not preheated, no steam for bread |
| 7. Cooling | Finish setting crumb, moisture redistribution | Time on a wire rack | Slicing while still warm |


Leave a Comment