You don't need a pastry degree to make a birthday cake that wows. I've been decorating cakes at home for over ten years, and let me tell you, the best creations often come from simple ideas and a bit of practice. This guide cuts through the fluff and gives you actionable tips to transform a basic cake into a celebration centerpiece. We'll cover everything from tools you already own to creative techniques that look professional but are totally doable in your kitchen.
What You'll Find in This Guide
Essential Tools for Home Cake Decorating
Before diving into ideas, let's talk gear. You might think you need a truckload of supplies, but honestly, I started with just a butter knife and a ziplock bag. Here's a breakdown of what really matters.
| Tool | Purpose | Budget-Friendly Alternative |
|---|---|---|
| Offset spatula | Smoothing frosting evenly | Butter knife or credit card |
| Piping bags and tips | Creating detailed designs | Ziplock bag with corner snipped |
| Turntable | Rotating cake for easy decorating | Plate on a lazy Susan or overturned bowl |
| Cake scraper | Getting sharp edges | Ruler or stiff cardboard |
Ingredients are just as key. Always use room-temperature butter for frosting—it makes a huge difference in texture. I learned that the hard way after a batch of grainy buttercream ruined my sister's cake. For beginners, stick with American buttercream; it's forgiving and uses pantry staples. According to King Arthur Baking, a trusted resource in home baking, proper ingredient temperature can improve frosting consistency by up to 50%.
Must-Have Basics You Probably Own
Don't overcomplicate it. A mixing bowl, whisk, and rubber spatula are enough for most decorations. If you're on a tight budget, skip the fancy tools and focus on technique. I once decorated a cake using only a spoon and got compliments all night. The secret? Patience and layering.
5 Creative Decorating Ideas with Steps
Here are five ideas I've tested and loved. Each includes a time estimate and difficulty level so you can pick what fits your skill.
Idea 1: Simple Buttercream Swirls
This is my go-to for last-minute cakes. It looks elegant but takes minutes. Start with a crumb-coated cake chilled for 30 minutes. Use a star tip (or that ziplock bag trick) to pipe swirls on top. Build from the outer edge inward. The trick? Hold the bag vertically and squeeze consistently. I messed this up early on by moving too fast—slow and steady wins here.
Materials: Buttercream, piping bag, star tip (optional). Time: 20 minutes. Difficulty: Easy.
Idea 2: Edible Flower Toppings
Fresh flowers make any cake Instagram-worthy. But here's a non-consensus point: avoid toxic flowers like lilies or daffodils. Stick with roses, violets, or pansies from your garden or a trusted source. Wash them gently and pat dry. Place them just before serving to prevent wilting. I sourced organic edible flowers from a local farmer's market, and they added a vibrant touch without extra cost.
Materials: Edible flowers, simple frosted cake. Time: 10 minutes. Difficulty: Beginner.
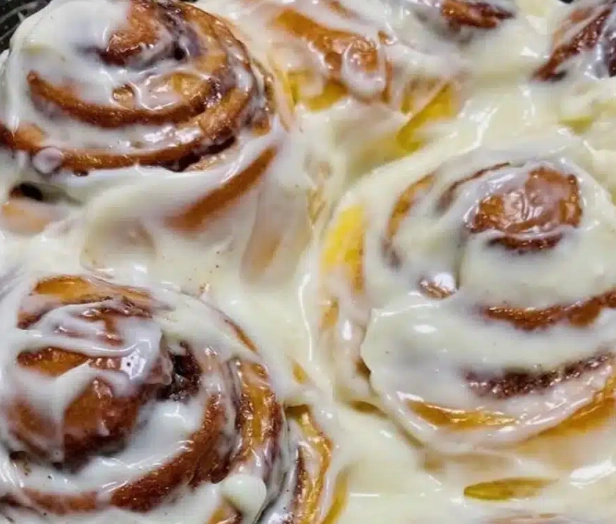
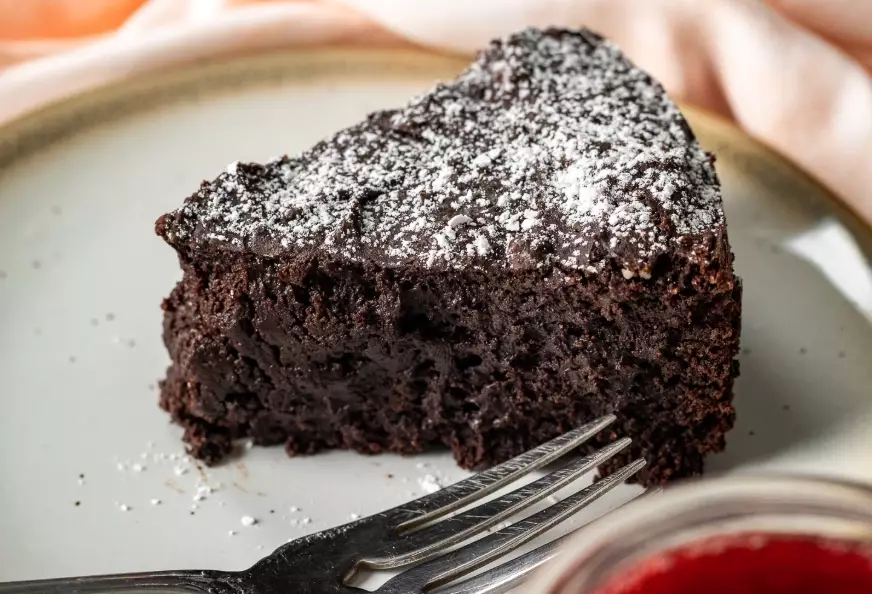
Idea 3: Chocolate Ganache Drip
Perfect for chocolate lovers. Heat 1 cup heavy cream and pour over 1 cup chopped chocolate. Let it sit for 5 minutes, then stir until smooth. Cool it to room temperature—this is crucial. If it's too warm, it'll flood the cake. Pour over the cake edges using a spoon. For a neat drip, practice on a plate first. I ruined a cake by using hot ganache; it slid right off. Lesson learned.
Materials: Chocolate, heavy cream, spoon. Time: 30 minutes (including cooling). Difficulty: Medium.
Idea 4: Fondant Cut-Outs for Beginners
Fondant scares people, but pre-made rolls are user-friendly. Roll it out on a surface dusted with powdered sugar. Use cookie cutters for shapes like stars or hearts. Attach to the cake with a dab of water. The key? Don't overwork the fondant, or it becomes sticky. I recommend Satin Ice fondant for home use—it's pliable and tastes decent, unlike some brands that are like chewing rubber.
Materials: Pre-made fondant, cookie cutters, powdered sugar. Time: 40 minutes. Difficulty: Medium.
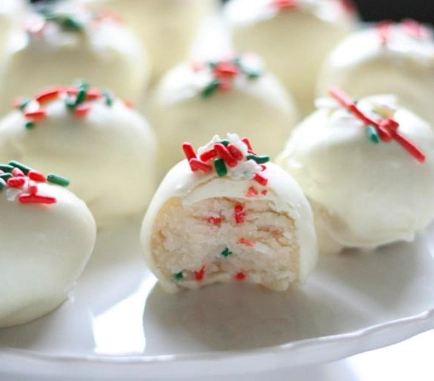
Idea 5: No-Bake Decor Options
Short on time? Use store-bought cake and decorate with candies, sprinkles, or fruit. Arrange fresh berries in a pattern, or create a border with chocolate chips. This is great for kids' parties. My niece loved a cake we decorated together with M&M's—it was messy but fun. The beauty is in the simplicity.
Materials: Candies, sprinkles, fruit. Time: 15 minutes. Difficulty: Easy.
Quick Tip: Always chill your cake before decorating. A cold cake is firmer, reducing crumbs and making frosting smoother. I learned this after a disaster where the cake fell apart mid-decorating.
Pro Tips from a Decade of Experience
Here's where I share mistakes you won't find in most guides. These insights come from trial and error, and they'll save you headaches.
First, avoid over-mixing frosting. It incorporates too much air, leading to bubbles that ruin smooth surfaces. Mix on low speed until just combined. I once spent hours fixing a bubbly frosting—never again.
Second, temperature control is everything. If your kitchen is hot, work in short bursts and chill the cake frequently. Buttercream melts quickly, and I've seen gorgeous designs turn into puddles on a summer day. Use a fan or air conditioning if possible.
Third, don't skip the crumb coat. It's a thin layer of frosting that seals in crumbs. Chill it for 15 minutes before adding the final layer. This step is non-negotiable for a clean look. A common mistake is rushing this—I did it early on and ended up with a speckled cake that looked messy.
Lastly, embrace imperfections. Home-decorated cakes have charm. If a swirl isn't perfect, add a sprinkle or flower to cover it. I've had cakes where the drip was uneven, but guests loved the handmade feel. Perfection isn't the goal; celebration is.
FAQ: Answering Your Burning Questions
Decorating a birthday cake at home is about creativity and joy. Start with simple ideas, learn from mistakes, and don't be afraid to experiment. With these tips, you'll create cakes that taste as good as they look. Remember, the best tool you have is your imagination—and maybe a good spatula.

Leave a Comment