Let's get straight to the point. If your past red velvet cakes have turned out a bit dry, crumbly, or dense, the culprit is likely the fat you used. Most traditional recipes call for butter. But swapping it for a simple, neutral oil? That changes everything. The result is a cake so tender and moist it practically melts, with a texture that stays perfect for days. It's also simpler (no creaming butter and sugar!) and naturally dairy-free, opening up the recipe to more people. I've been baking this version for a decade, and it's the one recipe friends and family beg me to make again and again.
What You'll Find Inside
Oil vs. Butter: The Science Behind the Superior Moisture
Butter is about 15-20% water. When you bake with it, that water evaporates, leaving behind the milk solids and fat that create structure and flavor. Oil, on the other hand, is 100% fat. It stays liquid at room temperature and coats the flour proteins more thoroughly than solid butter fats can. This coating limits gluten development, which is the enemy of tenderness in cakes.
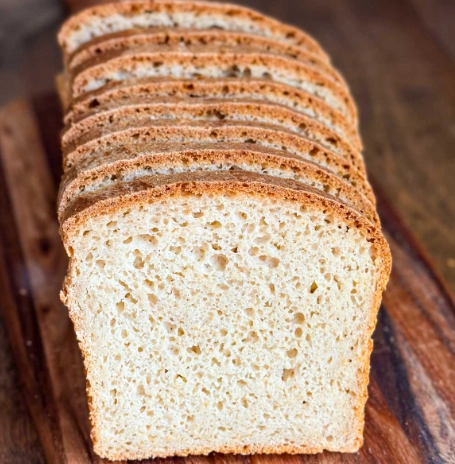
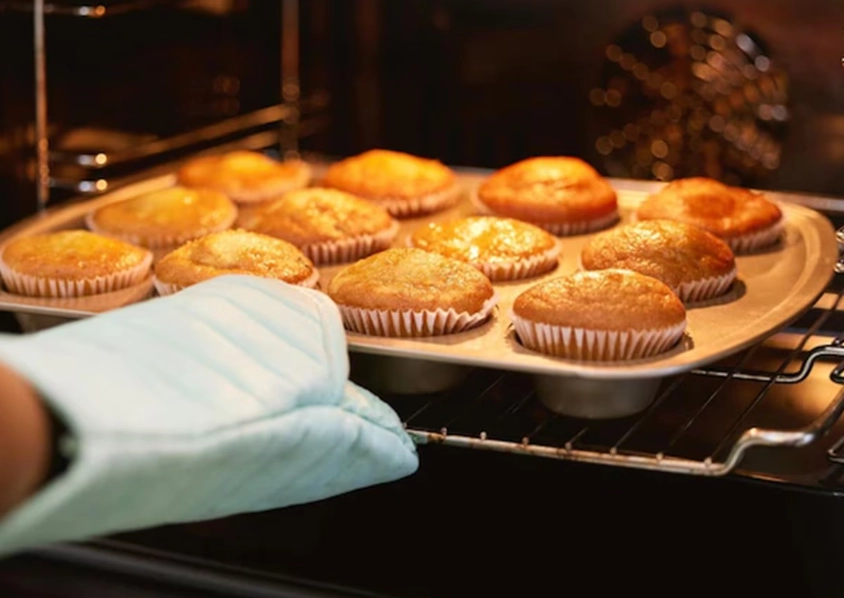
The result? A finer, more even crumb that retains moisture far better. Think about the difference between a muffin made with oil versus one made with butter. The oil-based one is consistently moister. The same principle applies here, magnified by the addition of buttermilk.
There's a trade-off, of course. Butter provides a irreplaceable flavor. That's why this recipe doesn't just swap fat and call it a day. We compensate with a heavier hand on vanilla and a specific type of cocoa to build depth. The goal isn't to mimic a butter cake, but to create something exceptional in its own right: supremely moist, velvety, and rich.
Your Ingredient Breakdown: Why Each One Matters
This isn't a dump-and-stir recipe. Understanding the role of each component is what separates a good cake from a great one.
| Ingredient | Measurement | Purpose & Pro Notes |
|---|---|---|
| All-Purpose Flour | 2 ½ cups (315g) | Provides structure. Spoon and level it into your cup to avoid a dense cake. Don't use cake flour here—we need the protein. |
| Granulated Sugar | 1 ½ cups (300g) | Sweetens, tenderizes, and promotes browning. This amount balances the tang from the buttermilk. |
| Dutch-Process Cocoa Powder | 2 tbsp (12g) | This is non-negotiable. Dutch-process is alkalized, giving a darker, richer color and smoother chocolate flavor that won't clash with the baking soda. Natural cocoa can turn the cake grayish. |
| Baking Soda & Salt | 1 tsp each | Soda reacts with the acidic buttermilk and vinegar for rise. Salt enhances all other flavors. |
| Neutral Oil (e.g., vegetable, canola) | 1 ½ cups (300ml) | The star. Creates an ultra-moist, tender crumb. Use a flavorless oil. I prefer grapeseed or rice bran oil for their light texture. |
| Buttermilk, room temp | 1 cup (240ml) | Adds tang, activates baking soda, and tenderizes. No buttermilk? Make a sour milk: 1 cup milk + 1 tbsp white vinegar or lemon juice. Let sit 5 mins. |
| Large Eggs, room temp | 2 | Bind the batter and add richness. Room temperature ingredients emulsify with the oil much better. |
| Pure Vanilla Extract | 1 tbsp (15ml) | Compensates for the lack of butter flavor. Don't skimp. Use the real stuff. |
| White Vinegar | 1 tsp (5ml) | The classic red velvet catalyst. It boosts the red color reaction and activates the soda for a final lift. You won't taste it. |
| Red Gel Food Coloring | 1-2 tbsp | Gel or paste is concentrated and won't thin your batter. Liquid coloring can alter the texture and requires more for a vivid hue. |
The Foolproof Step-by-Step Process
This method is streamlined. No stand mixer required, just two bowls and a whisk.
1. Prep and Preheat
Preheat your oven to 350°F (175°C). Grease and flour two 8-inch or 9-inch round cake pans, then line the bottoms with parchment paper. This guarantees easy release. Get your eggs and buttermilk out of the fridge now.
2. Combine the Dry Ingredients
In a large bowl, whisk together the flour, sugar, cocoa powder, baking soda, and salt. Whisk for a full 30 seconds. This does the job of sifting and ensures even distribution of the leavening agent—a step many skip, leading to uneven rising.
3. Mix the Wet Ingredients
In a separate medium bowl, whisk the oil, room temperature buttermilk, eggs, vanilla, vinegar, and red food coloring until the mixture is completely uniform and a vibrant red. It will look thin. That's correct.
4. Combine Wet and Dry
Pour the wet ingredients into the dry. Using a whisk, gently fold and stir until just combined and no dry flour pockets remain. A few small lumps are fine. This should take less than a minute. Over-mixing is the fastest way to develop gluten and make your cake tough. Stop as soon as it's homogenous.
5. Bake and Test
Divide the batter evenly between your prepared pans. Bake for 30-35 minutes (for 9-inch pans) or 35-40 minutes (for 8-inch pans). The cake is done when a toothpick inserted into the center comes out with a few moist crumbs attached, not wet batter. The tops will spring back lightly when touched.
6. Cool Completely
This is critical. Let the cakes cool in their pans on a wire rack for 15 minutes. Then, run a knife around the edge, invert them onto the rack, peel off the parchment, and let them cool completely before frosting—at least 2 hours. Frosting a warm cake is a disaster waiting to happen.
Expert Tips to Avoid Common Pitfalls
I've seen every mistake in the book. Here's how to sidestep them.
Room Temperature is Not a Suggestion: Cold buttermilk or eggs will cause the liquid oil to seize up slightly, resulting in a less emulsified, potentially greasy batter. Plan ahead.
Measure Your Flour Correctly: The number one cause of dry cake? Too much flour. Fluff your flour in the bag, spoon it lightly into your measuring cup, and level it off with the flat side of a knife. Don't scoop directly with the cup.
Don't Fear the Vinegar: It will not make your cake taste sour. It's a crucial chemical partner for the baking soda, creating bubbles that give the cake its fine, velvety texture. Leaving it out yields a denser crumb.
Check Your Oven Temperature: Most home ovens run hot or cold. An inexpensive oven thermometer is a baker's best friend. An oven that's too hot will cause the cake to dome and crack; too cool, and it will be dense and gummy.
Frosting, Storing, and Serving Your Masterpiece
The classic pairing is cream cheese frosting, and for good reason. The tang cuts through the sweetness and richness of the cake. For a stable frosting that won't weep, use full-fat brick cream cheese, not the spreadable kind in a tub. Beat it with softened butter first until smooth, then add powdered sugar and vanilla.
Because this cake is so moist, it stores beautifully. Frosted, it can sit covered at room temperature for 2 days. After that, refrigerate it for up to 5 days. The cold will firm up the frosting and cake, so let slices sit out for 30 minutes before serving to return to that perfect, tender texture.
You can freeze the unfrosted layers, tightly wrapped in plastic and foil, for up to 3 months. Thaw overnight in the fridge before frosting.
Your Red Velvet Baking Questions, Answered
 Baking is part science, part intuition. This oil-based red velvet recipe leans into the science to give you a forgiving, consistently stunning result. It might just become your new go-to. Give it a try, and taste the difference that a simple swap can make.

Leave a Comment