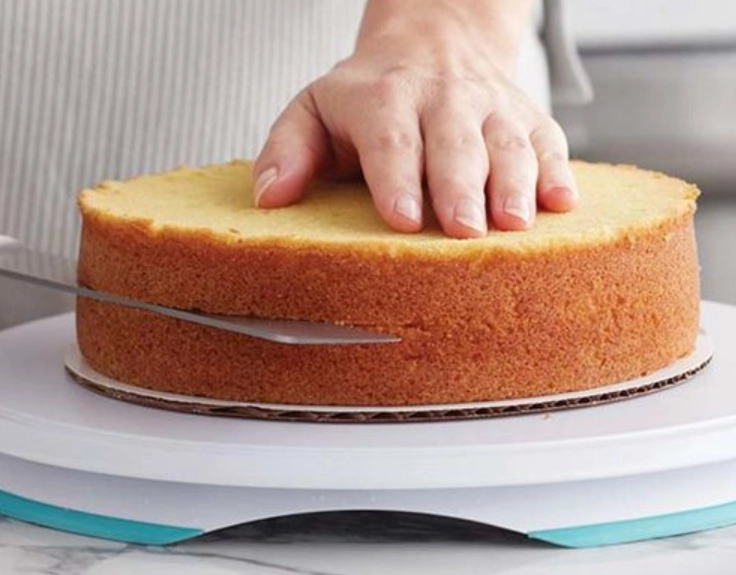
You've baked a perfect cake. It's moist, level, and flavorful. Now comes the real test—turning it from a simple dessert into a show-stopping centerpiece. That's where cake decorating comes in. It's not just about making things pretty; it's about expressing creativity, celebrating an occasion, and, let's be honest, impressing your friends.
But where do you start? The world of cake art can feel overwhelming with all its tools and terms.
I remember my first attempt at a birthday cake. I had a tub of frosting and a dream. It looked more like a abstract mud sculpture than a celebration. It was frustrating. Over the years, through trial and plenty of error, I learned that mastering a few foundational techniques opens up endless possibilities.
Let's break down the seven core cake decorating methods that every baker should know, from the classic to the contemporary.
Your Quick Guide to Cake Decorating
1. Buttercream Piping: The Foundation
This is where most of us begin. Buttercream piping is using a bag fitted with a metal tip to pipe frosting into shapes, borders, and letters. It's versatile, delicious, and forgiving.
The Core Idea: Force buttercream through a shaped nozzle to create defined patterns. The design is entirely in your hands (literally).
You'll need a good American or Swiss meringue buttercream, piping bags, and a set of tips. Start with a star tip (Wilton 1M is iconic for rosettes), a round tip (#12), and a petal tip (#104).
The secret nobody talks about? Consistency is everything. Your buttercream can't be too soft or too stiff. I see beginners make this mistake all the time. They follow a recipe but don't adjust for their kitchen's temperature. On a hot day, you need less liquid. On a cold day, you might need a touch more cream.
Basic Steps for a Simple Border
Fill your bag only halfway to maintain control. Hold the bag at a 90-degree angle just above the cake surface. Apply steady pressure, lift slightly as the shape forms, and release pressure before pulling away. Practice on a plate first.
Pro Tip: Avoid vegetable shortening-based frostings for detailed work if you can. They're stable but lack the flavor and silky mouthfeel of a real butter-based buttercream. For stability in heat, use a hybrid like Swiss meringue buttercream with a bit of high-ratio shortening blended in.
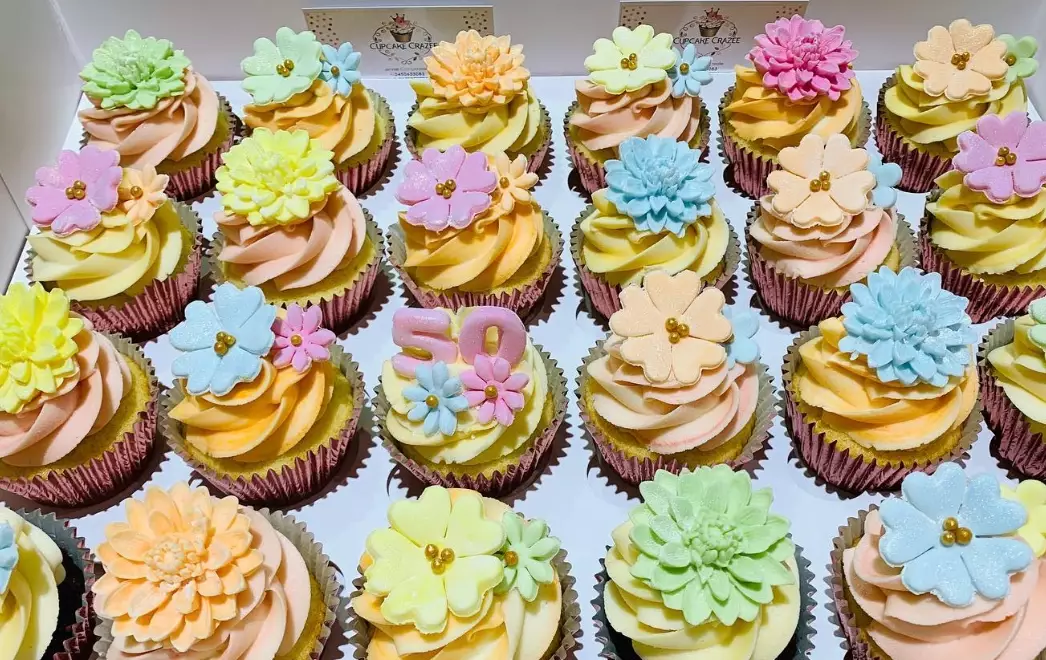
It's perfect for birthday cakes, cupcakes, and adding textured finishes like ruffles or grass.
2. Fondant Modeling & Covering: The Sculptor's Approach
Fondant is a smooth, pliable sugar paste that gives cakes that flawless, polished look. You can roll it out to drape over a cake for a sleek finish, or model it into intricate figures, bows, and textures.
It's divisive. Some love its clean canvas; others hate its taste. A common hack is to use a thin layer of fondant over a thick coat of buttercream, so you get the look and the taste.
The biggest challenge is avoiding tears and air bubbles when covering a cake. Knead your fondant until it's soft and pliable, then roll it out evenly on a surface dusted with powdered sugar or cornstarch. Drape it over your rolled pin and unfurl it over the buttercream-covered cake. Smooth from the top down with fondant smoothers.
For modeling, treat it like edible clay. Use tools for indents and shaping. Let pieces dry firm before attaching them with a dab of water or edible glue.
This is the go-to for wedding cakes, sculpted cakes, and achieving ultra-smooth surfaces.
3. Chocolate Ganache Drip: Effortless Elegance
A chocolate ganache drip creates those beautiful, glossy drips running down the side of a cake. It looks professional but is surprisingly simple. It's all about controlling the temperature and consistency.
Ganache is just heated cream poured over chopped chocolate, then stirred until smooth. For a drip, you want a pourable but not runny consistency. Let it cool to about 90-95°F (32-35°C). Test a drip on the side of your bowl first.
Pro Tip: The classic mistake is pouring ganache that's too warm. It will race down the side and pool at the bottom. If it's too cool, it will be clumpy and won't drip. The cooling time is critical—don't rush it. You can also use a squeeze bottle for more control over where the drips go.
Pour a pool of ganache on the top center of your chilled cake and gently guide it over the edges with an offset spatula. The chill of the cake helps set the drip quickly.
It's ideal for adding a touch of luxury to birthday cakes, mousse cakes, or as a base for other decorations on top.
4. Mirror Glaze: The Modern Showstopper
Mirror glaze is that stunning, glass-like, reflective coating you see on trendy entremets and celebration cakes. It's a gelatine-based glaze that sets with an incredible shine.
It involves melting white chocolate, sweetened condensed milk, gelatine, and sugar syrup with food coloring. The science is in the temperature—you must pour it at precisely 95°F (35°C) onto a frozen cake. Yes, frozen. The thermal shock is what creates the smooth, thin, mirror finish.
This technique is less forgiving. Any air bubbles in your glaze will show. Strain it before pouring. Have your cake on a raised wire rack over a tray to catch the excess.
It creates a jaw-dropping effect for special occasions, professional patisserie, and cakes where you want bold, marbled colors.
5. Royal Icing Transfers: Precision Detailing
Royal icing dries rock hard. This property lets you pipe intricate designs on parchment paper, let them dry completely, and then peel them off to place on your cake. It's like making edible stickers.
You need stiff royal icing for outlines and a slightly thinned "flood" consistency to fill areas. Pipe your design over a template placed under parchment paper. Let it dry for 24 hours.
The advantage? You can make dozens of identical flowers, lace patterns, or monograms in advance. No pressure of piping directly onto the finished cake. If you mess one up, you just make another.
It's perfect for detailed lacework on wedding cakes, delicate flowers, and adding complex patterns that would be nerve-wracking to pipe freehand.
6. Fresh Flower Arrangement: Natural Beauty
Decorating with fresh flowers is about bringing organic, garden-fresh beauty to your cake. It's not just plopping flowers on top. Food safety is paramount.
You must use organic, pesticide-free flowers that are safe for consumption (e.g., roses, violets, pansies, lavender). Never insert stems directly into the cake. Wrap each stem tightly in floral tape and then in plastic wrap or insert them into food-safe flower picks.
Think like a florist. Use varying heights, textures, and colors. Add some greenery like eucalyptus or rosemary sprigs. Place them strategically, often in an off-center cluster or cascading down one side.
This technique is gorgeous for spring weddings, garden parties, and rustic-chic celebrations. It provides instant elegance with minimal baking skill.
7. Fruit & Geometric Arrangement: The Minimalist's Choice
Sometimes, less is more. Using fresh fruit, berries, or even edible gold leaf in a deliberate, geometric pattern can be stunning. Think a single line of perfect raspberries, a spiral of kiwi slices, or a checkboard of strawberries and blackberries.
The key is precision and a good glaze. After arranging, brush the fruit with a thin apricot jam glaze (heated jam thinned with a little water) or a clear piping gel. This gives a professional, glossy finish and keeps the fruit from drying out.
Pat dry your fruit thoroughly before placing it. Wet fruit will make your frosting soggy. This approach celebrates the ingredients and works beautifully with naked or semi-naked cakes, cheesecakes, and summer desserts.
Which Cake Decorating Technique Should You Choose?
Stuck on where to begin? Your choice depends on the occasion, your skill level, and the time you have. Here's a quick breakdown to help you decide.
| Technique | Best For | Skill Level | Time Required |
|---|---|---|---|
| Buttercream Piping | Birthdays, Cupcakes, Textured Looks | Beginner to Advanced | Medium |
| Fondant Work | Weddings, Sculpted Cakes, Smooth Finish | Intermediate to Advanced | High |
| Ganache Drip | Elegant Celebrations, Chocolate Lovers | Beginner to Intermediate | Low |
| Mirror Glaze | Professional Showpieces, Special Events | Advanced | High (requires precision) |
| Royal Icing Transfers | Intricate Details, Lace, Advance Prep | Intermediate | High (plus drying time) |
| Fresh Flowers | Weddings, Garden Parties, Quick Elegance | Beginner | Low to Medium |
| Fruit Arrangement | Summer Cakes, Naked Cakes, Minimalist Style | Beginner | Low |
My personal favorite for a last-minute impressive cake? A smooth buttercream coat, a dark chocolate ganache drip, and a simple arrangement of fresh berries on top. It works every time.
Your Cake Decorating Questions Answered
What is the easiest cake decorating technique for a complete beginner?
Buttercream piping with a simple star or round tip is the most forgiving starting point. The key is getting your buttercream consistency right. Many tutorials gloss over this, but if it's too soft, your designs melt. Too stiff, and your hand cramps. Aim for a medium peak that holds its shape when you lift the spatula. Practice on parchment paper first. It's cheap, and you can scrape the frosting back into the bag.
How do I prevent air bubbles in my mirror glaze?
Air bubbles are the enemy of a flawless mirror glaze. The common advice is to let it sit and pop them with a torch, but that's a last resort. The real fix happens during blending. Don't whisk vigorously. Instead, use an immersion blender, keeping the head submerged to avoid incorporating air. Let the glaze settle for 15 minutes after blending, then strain it through a fine-mesh sieve onto your chilled cake. This removes 95% of bubbles before you even pour.
Can I use fresh flowers on a cake safely?
Yes, but with critical precautions. Never just stick stems directly into the cake. Sap and pesticides can leach into the frosting. First, source organic, food-safe flowers from a florist who knows they're for cakes. Wash them gently. Then, cut the stems short and wrap each one tightly with floral tape, followed by a final wrapping of plastic wrap or a specialty flower pick. This creates a complete barrier. Insert the wrapped stem into the cake at the last possible moment.
My fondant decorations keep cracking. What am I doing wrong?
Cracking usually means the fondant dried out too fast. Most people knead until pliable, but they forget to rest it. After kneading, wrap it tightly in plastic wrap and let it sit for 30 minutes. This allows the elasticity to relax. When rolling, don't use cornstarch if you can avoid it; it dries the surface. Use a light coating of vegetable shortening instead. For complex shapes, work in sections and keep unused fondant under a damp (not wet) cloth.
The best way to learn is to pick one technique and try it. Don't aim for perfection on the first try. My first ganache drip was a puddled mess. Now it's one of my most requested finishes. Each of these seven cake decorating techniques opens a new door. Start with buttercream or fresh fruit, build your confidence, and soon you'll be eyeing that mirror glaze recipe. Happy decorating!

Leave a Comment