Quick Navigation
Let's be honest. Your first few attempts at chocolate baking might not look like the pictures. I know mine didn't. I remember a chocolate cake that was so dense you could have used it as a doorstop, and cookies that spread into one giant, crispy puddle. It was discouraging.
But here's the thing—chocolate baking doesn't have to be a mystery filled with potential disasters. Once you get a handle on a few fundamental concepts, it becomes this incredibly rewarding, almost magical process. The smell alone is worth the effort.
This guide is the one I wish I had when I started. We're going to skip the overly complicated chef-speak and get straight to the practical chocolate baking tips for beginners that will build your confidence. We'll talk about the chocolate itself, the common pitfalls, and how to rescue a recipe that's going sideways. By the end, you'll be ready to tackle brownies, cakes, and cookies that will have people asking for your secret.
First Things First: Understanding Your Chocolate
This is where most beginner mistakes happen. You grab any old chocolate bar from the candy aisle and wonder why your brownies taste... off. Not all chocolate is created equal for baking.
Baking chocolate is formulated differently. It has less sugar and often a higher cocoa butter content than eating chocolate, which gives it the structure and intense flavor your desserts need. The U.S. Food and Drug Administration (FDA) actually sets standards of identity for different types of chocolate, which is helpful to know. For instance, what can be labeled "bittersweet" versus "semisweet" has defined ranges of cocoa solids.
So, what's in your cupboard? Let's break it down.
The Chocolate Line-Up: What to Use and When
| Type of Chocolate | Cocoa Solids & Flavor | Best Used For... | Beginner Friendliness |
|---|---|---|---|
| Unsweetened Chocolate (100% cocoa) | Pure, intense, very bitter. No added sugar. | Recipes where you control all the sugar (brownies, some cakes). Provides deep chocolate backbone. | Medium. Don't taste it raw! It's a tool, not a snack. |
| Bittersweet & Semisweet Chocolate | Usually 50-70% cocoa. Rich, complex, balanced sweetness. (Semisweet is slightly sweeter). | Almost everything! Chocolate chips, chunks in cookies, melted into ganache, brownies. Your all-purpose workhorse. | High. This is your best friend. I use a 60-70% cocoa for most recipes. |
| Dark Chocolate (Eating Quality) | Varies widely. Good for eating, but may have additives. | Chopped into chunks for premium cookies or as a garnish. Use high-quality brands. | Medium. Can be expensive for baking large batches. |
| Milk Chocolate | Sweet, creamy, mild chocolate flavor. Contains milk solids. | Specialty cookies, frostings, or as a mix-in. Not for melting as the main chocolate in most cakes/brownies. | Caution. It scorches easily when melted and can make batters too soft. |
| White Chocolate | No cocoa solids—just cocoa butter, sugar, and milk. Sweet and buttery. | Frostings, drizzles, blondies. Melts at a low temperature. | Medium. Must be gently melted. Ensure it's real cocoa butter-based. |
| Cocoa Powder (Natural vs. Dutch-Process) | Pure cocoa solids with fat removed. Intense flavor. Dutch-process is alkalized for a milder taste. | Cakes, hot cocoa, dry rubs for desserts. Key difference: Natural cocoa is acidic, Dutch-process is neutral. | High. Easy to use. Pay attention to which type your recipe specifies! |
See that note on cocoa powder? That's a big one. If a recipe uses baking soda (an alkali) as the leavener, it needs the acid in natural cocoa powder to react and make your cake rise. If it uses baking powder (which contains its own acid), it can use Dutch-process. Using the wrong one can lead to a flat, dense cake. I learned that the hard way.
My personal go-to? A good quality semisweet or bittersweet baking bar for melting, and natural cocoa powder for cakes. It covers 90% of recipes.
Core Chocolate Baking Tips for Beginners: The Non-Negotiables
Alright, you've got your chocolate. Now let's talk process. These aren't just tips; they're the foundation. Ignore them at your peril (and potentially the peril of your dessert).
1. Measuring is a Science, Not a Suggestion
Baking is chemistry. A little too much flour can make your brownies dry and cakey. Too little, and they're a fudge puddle. The single best investment you can make is a simple digital kitchen scale. Measuring by weight (grams) is infinitely more accurate than cups. A cup of flour can vary by 20 grams depending on how you scoop it!
If you must use cups, use the "spoon and level" method. Spoon the flour into the cup, then level it off with a knife. Don't scoop directly from the bag—you'll pack in too much.
2. Temperature Matters (A Lot)
Your ingredients need to be at the temperature the recipe says. "Room temperature" eggs and butter (around 68-70°F) aren't a suggestion. Room temp butter creams with sugar to incorporate air, which gives cakes lift. Cold butter won't do that. Cold eggs can curdle a butter-sugar mixture.
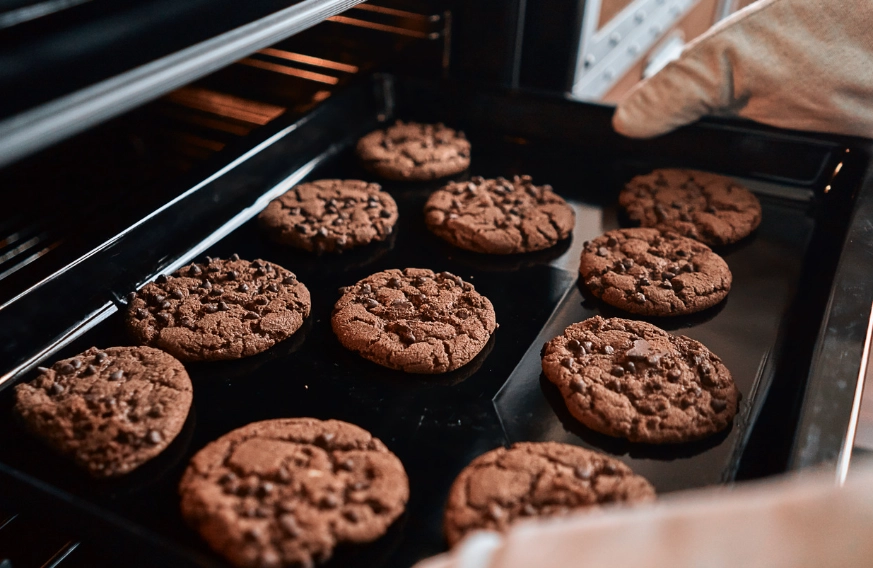
And your oven? Oven thermostats are notorious liars. An inexpensive oven thermometer is a game-changer. If your oven runs 25 degrees hot, your cookies will burn on the bottom before they're set in the middle. It happens all the time.
3. The Art of Melting Chocolate
This scares a lot of people. Chocolate is fussy. It can seize (turn into a grainy, solid lump) if it gets even a drop of water in it while melting, or if it gets too hot.
- Best Method (Gentle Heat): Use a double boiler. Place a heatproof bowl over a pot of simmering water (not boiling, and make sure the bowl doesn't touch the water). Stir until melted.
- Quick Method (Microwave): Chop chocolate uniformly. Microwave in 20-30 second bursts at 50% power, stirring well between each burst. Stop when it's almost all melted—the residual heat will finish the job. This is my lazy go-to for small amounts.
Never melt chocolate directly over a flame. It will burn.
4. Don't Overmix the Batter
Once you add the flour to a batter, you're developing gluten. For bread, you want that. For tender cakes and brownies, you really don't. Mix just until the last streaks of flour disappear. A few small lumps are better than a tough, overworked batter.
Solving Common Chocolate Baking Disasters
Even with the best tips, things go wrong. Here's how to diagnose and fix (or prevent) the big ones.
Why are my brownies/gooey in the middle?
They're likely underbaked. But with brownies, it's tricky because you want a fudgy center. The toothpick test is unreliable for fudgy brownies—it should come out with a few moist crumbs, not clean, but not coated in raw batter. Also, let them cool completely in the pan before cutting. They continue to set as they cool.
My cake is dry and crumbly.
Overbaking is the usual culprit. Check it 5-10 minutes before the recipe's time ends. Also, over-measuring flour or overmixing the batter can lead to dryness. Did you use the wrong type of cocoa powder, throwing off the chemical reaction? That can affect texture too.
Cookies spread into one flat sheet.
Butter was too warm. Your dough was probably too soft going into the oven. Chill the dough for at least 30 minutes (or up to 3 days—flavor gets better!). Also, check your baking sheet. Is it insulated or dark-colored? Dark sheets absorb more heat and can cause excessive spreading and burning on the bottom. Use a light-colored aluminum sheet.
Chocolate seized! Can I save it?
Maybe. If it seized from a tiny bit of moisture, try stirring in a teaspoon of warm water, vegetable oil, or melted shortening at a time until it smooths out. If it seized from overheating (it will look grainy and oily), it's harder to salvage for baking, but you might be able to use it in a hot chocolate mix. Often, it's easier to start fresh.
Leveling Up: From Beginner to Confident Baker
Once you've mastered the basics, a few extra chocolate baking tips for beginners can elevate your bakes from good to "wow."
Bloom your cocoa powder. This is a pro-tip that's easy to do. For recipes where cocoa is the main chocolate flavor (like a devil's food cake), mix the hot water or coffee called for in the recipe directly with the cocoa powder first. Let it sit for a minute. It "blooms" the cocoa, intensifying its flavor dramatically. It makes a huge difference.
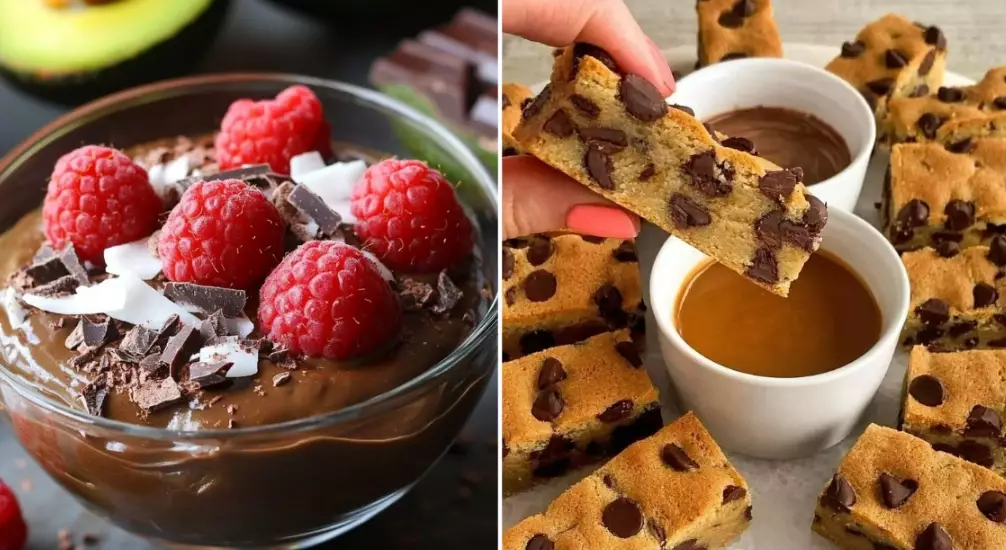
Salt is your secret weapon. A pinch of flaky sea salt on top of chocolate chip cookies or brownies just before baking doesn't make them salty; it makes the chocolate taste more chocolatey. It cuts through the sweetness and highlights the complex flavors. Don't skip the salt in the batter either, even if it's just a quarter teaspoon.
Quality matters, but within reason. You don't need a $15 artisanal chocolate bar for a batch of kid's cookies. But using a decent baking chocolate from the baking aisle (like Ghirardelli, Guittard, or Callebaut) versus the cheapest generic brand is noticeable. The flavor is cleaner and richer. For cocoa powder, brands like Hershey's Special Dark (a blend) or Droste (Dutch-process) are great widely-available options.

Your First Recipes: Where to Start
You're armed with knowledge. Now, what should you bake first? Start simple to build confidence.
Top Tier (Easiest Wins):
- One-Bowl Brownies: Look for recipes that melt butter and chocolate together, then mix in the rest. Minimal steps, maximal reward. A great first application of your chocolate baking tips for beginners.
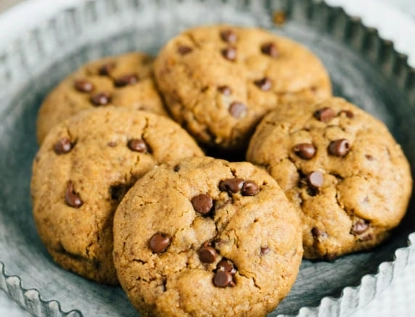
- Chocolate Chip Cookies: The classic. Focus on nailing the texture—chewy edges, soft center. Remember to chill that dough!
- Chocolate Mug Cake: Instant gratification. Perfect for practicing melting technique in the microwave without a big commitment.
Next Level (Build Skills):
- Chocolate Sheet Cake: Easy to mix, hard to mess up. Great for practicing making a simple chocolate frosting.
- Chocolate Bread Pudding: Uses day-old bread, is forgiving on bake time, and feels fancy. Teaches you about custard texture.
Avoid super-fussy layered cakes, temperamental soufflés, or intricate French pastries for now. Walk before you run.
Wrapping It Up: You've Got This
Look, the heart of all these chocolate baking tips for beginners comes down to a few things: read your recipe carefully, measure accurately, respect the ingredients' temperatures, and don't fear the chocolate.
Your first bake might be perfect. It might be a flop. Mine have been both. The important part is to understand why something happened. Did your cookies spread? Ah, warm dough. Next time, you'll chill it. That's how you learn. That's how you go from following a recipe to actually knowing how to bake.
Chocolate is a fantastic, forgiving ingredient to learn with. The results are almost always delicious, even when they're imperfect. So, preheat that oven (check it with a thermometer!), grab some good bittersweet chocolate, and get started. That perfect, fudgy brownie is waiting for you.
Got a specific chocolate baking problem that's been driving you crazy? Chances are, it's in here. And if not, the principles we covered will help you solve it. Happy baking!


Leave a Comment