Quick Navigation to Cookie Perfection
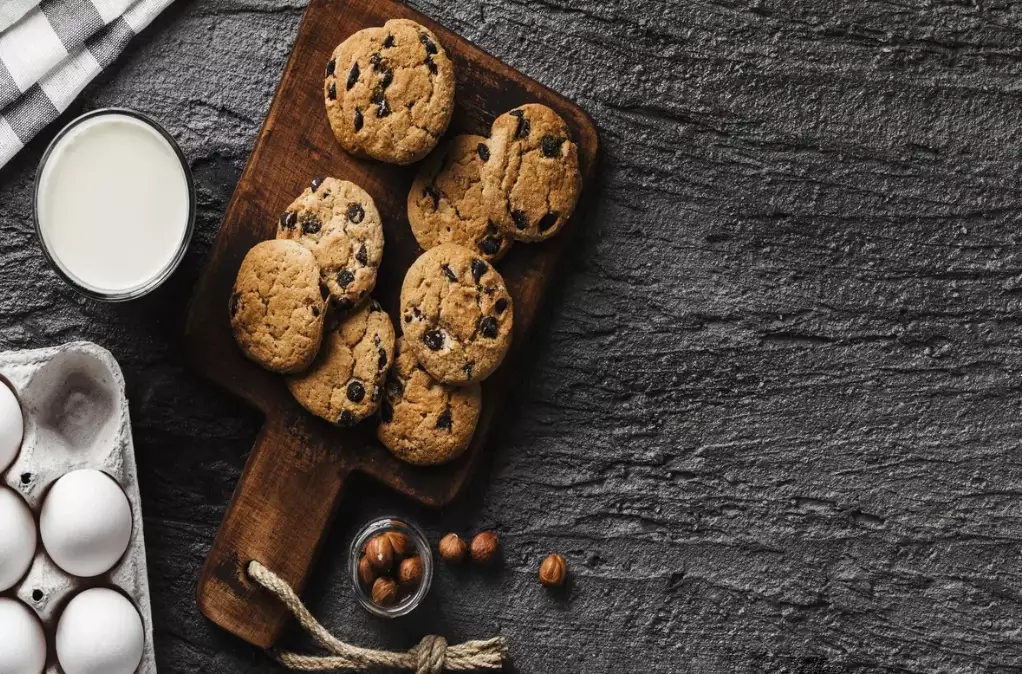
Let's be honest. We've all been there. You find a sugar cookie recipe for decorating online, full of hope. You mix, you roll, you cut. They go into the oven as beautiful little snowflakes or elegant Christmas trees. And then... they come out. Blob-like, misshapen, edges melted into each other. The details you worked so hard on are gone. The frustration is real. I've thrown away more batches of spread-out cookies than I care to admit.
But what if I told you it doesn't have to be that way? That there's a sugar cookie recipe for decorating that actually works? One that holds every sharp line of your intricate cutter, that gives you a sturdy yet tender base for floods of royal icing? After what felt like a lifetime of baking fails (and a kitchen dusted in a permanent layer of powdered sugar), I finally cracked the code. This isn't just another recipe. It's the blueprint. The one I wish I had when I started.
This guide is for anyone who's ever been disappointed by a puffy, spreading cookie. We're going deep. We'll cover the exact ingredients and why they matter, the non-negotiable techniques, and the science behind it all. Then, we'll move on to the fun part: turning those perfect blank canvases into edible art. From royal icing consistency to flooding and detailing, I'll walk you through it. Consider this your one-stop shop for everything related to the perfect sugar cookie recipe for decorating.
Why This Sugar Cookie Recipe for Decorating Actually Works
Most standard sugar cookie recipes are designed to be soft, chewy, and eaten plain. They have more leavening agent (baking powder/soda) and often more liquid (like milk or egg). That's great for a casual treat, but a disaster for detailed shapes. The key to a great sugar cookie recipe for decorating is minimizing spread and maximizing structure.
It boils down to three things: fat, liquid, and leavening.
Butter is crucial, but it must be used correctly. You want it cool, not rock-hard and not melty. Creaming cool butter with sugar creates tiny air pockets, but if the butter is too warm, those pockets collapse in the oven's heat, causing spread. I learned this the hard way on a hot summer day—my cookies turned into one giant cookie sheet pan. Not ideal.
Liquid is the enemy of sharp edges. Eggs add moisture and richness, but too much egg white can make cookies cakey and prone to rising. Many dedicated decorating recipes use only egg yolks or even just a splash of cream. Our recipe strikes a careful balance.
And leavening? Forget it. Well, almost. A tiny, tiny amount might be used, but the goal is nearly zero rise. You want the cookie to bake and set, not puff up and out. This is the single biggest difference between a regular cookie and a sugar cookie recipe for decorating.
The No-Fail, No-Spread Sugar Cookie Dough Recipe
Alright, let's get to it. Here is the core sugar cookie recipe for decorating that has never let me down. Print this, bookmark it, stick it on your fridge.
The Step-by-Step Process (Where Most People Go Wrong)
Creaming: In a large bowl, beat the cool butter and sugar together on medium speed for 2-3 minutes. You want it light and fluffy, but not so long that the butter heats up from the friction. Pale yellow and creamy is the goal.
Wet Ingredients: Beat in the egg and vanilla until just combined. Scrape down the bowl. Over-mixing here can incorporate too much air.
Dry Ingredients: In a separate bowl, whisk together the flour, salt, and that scant 1/2 teaspoon of baking powder. This ensures even distribution. With your mixer on low, gradually add the dry ingredients to the wet. Mix only until no dry streaks of flour remain. The dough will look crumbly at first, then come together. Stop immediately once it forms a cohesive mass.
The dough will be stiff. This is good. This is what you want.
Chilling: This is non-negotiable. Divide the dough into two discs, wrap tightly in plastic wrap, and refrigerate for at least 2 hours, preferably overnight. This re-solidifies the butter, relaxes the gluten, and makes the dough manageable for rolling. Trying to roll warm dough is a sticky, frustrating mess. Trust me, I've tried to shortcut this step. The cookies always spread.
The Baking Science: How to Guarantee Sharp Edges
You've made the dough. Now, the bake. This is where your perfect sugar cookie recipe for decorating meets the heat, literally. A few key principles here make all the difference.
Rolling: Roll the dough between two pieces of parchment paper. No extra flour needed, which prevents the dough from becoming tough. Aim for an even 1/4-inch thickness. I use little wooden dowel guides on the sides of my rolling pin—a game-changer for uniformity.
Cutting: Dip your cutter in flour before each cut. Press down firmly and cleanly. Don't twist the cutter! Twisting seals the edges and can prevent the cookie from rising evenly (or cause feet to form). Just press and lift.
Baking Surface: Always use a light-colored aluminum baking sheet. Dark sheets absorb more heat and can cause the bottoms to brown too fast. Line it with parchment paper—not wax paper! Silicone mats are okay, but I find parchment gives a slightly crisper bottom, which I prefer for decorating.
Temperature & Time: Preheat your oven fully. I mean it. Let it preheat for a good 20 minutes after it beeps. An oven thermometer is a cheap and vital tool—many home ovens are off by 25 degrees or more. Bake at 350°F (175°C) for 8-11 minutes. The cookies are done when the centers look just set and the edges are barely, barely starting to turn golden. They should not brown on top. They will continue to set as they cool on the sheet.
Let them cool on the baking sheet for 5 minutes, then transfer to a wire rack to cool completely. They must be completely cool before you even think about icing. Any residual warmth will melt your royal icing.
The Decorator's Toolkit: Royal Icing 101
Now for the magic. Royal icing is the standard for decorating sugar cookies because it dries rock-hard, creating a smooth, paintable surface. It's just powdered sugar, meringue powder (or egg whites), and water. Meringue powder is my strong recommendation—it's pasteurized, safe, and consistent. The U.S. Department of Agriculture recommends avoiding raw egg whites due to salmonella risk, and meringue powder is a perfect, safe alternative. You can find more on food safety from the USDA Food Safety and Inspection Service.
The single most important concept in decorating is consistency. You need different thicknesses for different jobs.
| Consistency Name | Description ("The Test") | Best For |
|---|---|---|
| Outline Consistency | Thick like toothpaste. Holds a firm line when piped. A peak in the icing should hold its shape and slowly melt back in. | Piping borders, writing, fine details. |
| Flood Consistency | Thin like heavy cream or honey. When you drizzle a bit back into the bowl, the ribbon should disappear into the surface in 8-10 seconds. | Filling (flooding) large areas inside an outline. It should flow smoothly but not run off the cookie. |
| 15-Second Icing | A happy medium. The ribbon disappears in about 15 seconds. Great for beginners. | All-purpose use for simpler cookies where you don't want to switch bags. |
My basic royal icing recipe: 4 cups powdered sugar (sifted!), 3 tablespoons meringue powder, and 1/2 cup warm water to start. Mix on low until combined, then beat on medium-high for 2-3 minutes until stiff, glossy peaks form. This is your stiff base. To get flood consistency, add water drop by drop and mix thoroughly. It's easy to over-thin, impossible to un-thin.
Decorating Techniques: From Basic to "How Did You Do That?"
Start simple. The classic method is "Outline and Flood." Pipe a border of outline-consistency icing around the edge of your cookie. Then, thin some icing to flood consistency, fill in the center, and use a toothpick or scribe tool to guide it into the corners. Let that dry completely (4-6 hours or overnight). Then, add details on top with thicker icing.
Want to get fancier?
- Wet-on-Wet: Pipe your flood base, then immediately pipe dots, lines, or shapes with a different color of flood-consistency icing. They will melt together slightly, creating a soft, blended effect. Great for making simple flowers or patterns.
- Marbleizing: Add drops of different colored flood icing onto your base flood. Swirl gently with a toothpick for a marbled look.
- Brush Embroidery: This is an advanced technique that looks incredibly elegant. You pipe a small line of thick icing and then use a slightly damp paintbrush to pull and thin it, creating a delicate, lace-like effect.
For colors, use gel food coloring, not liquid. Liquid will thin your icing and dilute the color strength. Americolor and Chefmaster are fantastic brands. Start with a toothpick dab of color—you can always add more.
Answering Your Burning Questions (FAQ)
Why did my cookies still spread?
Let's troubleshoot. Was your butter too soft? Did you skip or shorten the chill time? Is your oven running hot (get that thermometer!)? Did you use a dark baking sheet? Any one of these can be the culprit. The dough also needs to be cold going into a hot oven.
Can I make the dough ahead?
Absolutely! The dough discs will keep in the fridge for up to 3 days. You can also freeze them, tightly wrapped, for up to 3 months. Thaw in the fridge overnight before rolling.
How do I store decorated cookies?
Once the royal icing is fully dry (taps hard), store them in a single layer in an airtight container at room temperature. They'll keep for 1-2 weeks easily. Don't refrigerate, as condensation can ruin the icing. You can freeze decorated cookies for longer storage—place them in a single layer on a tray to freeze solid, then transfer to an airtight container. Thaw at room temperature in the container to prevent sweating.
My royal icing is too runny/thick. Can I fix it?
Too runny: Add more sifted powdered sugar, a tablespoon at a time. Too thick: Add water drop by drop. Mix thoroughly after each addition. Patience is key.
What's the best way to practice decorating?
Don't start with a complex 50-cookie order for your sister's wedding. Bake a small batch, make some icing, and just play. Practice piping lines, dots, and flooding on parchment paper first. Then move to cookies. It's a skill like any other—it improves with repetition.
Can I use this sugar cookie recipe for decorating for cut-out cookies we just want to eat plain?
You can, but they will be less soft and chewy than a traditional eating cookie. They are more crisp and sturdy. For the best of both worlds, some bakers add an extra egg yolk or a tablespoon of sour cream to this base recipe to add tenderness if they aren't being heavily decorated.
Putting It All Together: Your First Project
Feeling overwhelmed? Don't be. Start with a simple shape like a circle or a heart. Bake your cookies using this reliable sugar cookie recipe for decorating. Make one batch of white royal icing. Separate a small amount into a piping bag with a small round tip (like Wilton #3) for outlining. Thin the rest to flood consistency and put it in a bottle or a bag with the tip cut off.
Outline a cookie. Flood it. Use a toothpick to pop any air bubbles. Let it dry. On the next one, try adding a few dots of a different color while the base is wet. See what happens. It's supposed to be fun, remember?
The journey to mastering the perfect decorated sugar cookie is full of little experiments and occasional flops. My first attempts were laughable—lopsided floods, colors that looked muddy, cookies that broke. But each batch taught me something. This guide gives you the foundation I didn't have: a truly dependable sugar cookie recipe for decorating that won't spread, and a clear path through the icing jungle.
So, take a deep breath, preheat your oven, and get your butter out of the fridge. Your picture-perfect cookies are waiting.


Leave a Comment