Explore This Guide
- Why Does Gluten Matter So Much in Baking Anyway?
- The Gluten Free Baker's Essential Toolkit
- Building Your Own Gluten Free Flour Blend: A Simple Blueprint
- Converting Your Favorite Recipes to Gluten Free
- The Top 5 Gluten Free Baking Mistakes (And How to Dodge Them)
- Special Focus: Conquering Gluten Free Yeast Bread
- Answering Your Gluten Free Baking Questions
- A Final Word of Encouragement
Let's be honest. Your first few attempts at gluten free baking probably didn't go as planned. I remember my first gluten free loaf. It had the structural integrity of a sandcastle and a flavor that could only be described as "earthy." It was a brick, a sad, crumbly brick. I almost gave up right then.
But here's the thing I learned the hard way: gluten free baking is just different. It's not harder, not really. It just follows a different set of rules. Once you crack the code, you can make cakes that are impossibly moist, bread that actually springs back, and cookies that don't disintegrate when you look at them. This whole guide is about sharing that code so you can skip the brick-phase entirely.
Why Does Gluten Matter So Much in Baking Anyway?
Before we fix the problem, we need to understand it. Gluten is the protein found in wheat, rye, and barley. In regular baking, it's the superstar. When you knead dough, you're developing this gluten network. It's like building a stretchy, elastic scaffolding inside your bread or pastry. This scaffold traps the gases from yeast or baking powder, making things rise and giving them that chewy, airy texture we love.
So, when you remove gluten, you remove the scaffolding. Your bake has nothing to hold onto. Without intervention, the result is often dense, crumbly, and dry. The goal of gluten free baking, then, is to build a new kind of scaffolding using other ingredients.
The Gluten Free Baker's Essential Toolkit
Forget trying to find a one-to-one universal flour that works for everything. The secret lies in blends and binders. Here’s what you actually need in your pantry.
The Flour Power Players
Think of these as your base team. Each brings something unique to the table.
- Rice Flour (White or Brown): The workhorse. It's neutral in flavor and gives structure. White rice flour is finer, brown adds a bit more fiber and nuttiness. It can be a bit gritty on its own, though.
- Tapioca Flour/Starch: The chewy one. This is a starch that adds lightness, chew, and helps with browning. It's fantastic in bread and pizza crusts.
- Potato Starch (NOT potato flour!): The moist maker. It retains water beautifully, giving your bakes a tender, moist crumb. Perfect for cakes and soft breads.
- Almond Flour: The rich, dense friend. It adds moisture, protein, and a wonderful flavor. It's heavy, so you usually mix it with lighter flours. A go-to for cookies and fat-based cakes.
- Oat Flour (ensure it's certified gluten-free): The friendly fiber. It adds a wholesome flavor and helps with texture. Great in muffins and quick breads.
The Binders: Your New Best Friends
This is the real game-changer. Binders replicate gluten's sticky, elastic job. The most common ones are:
- Xanthan Gum: The most popular. A tiny amount (like 1/2 to 1 teaspoon per cup of flour) adds the stretch and stick you're missing. Too much, and your bake gets gummy.
- Guar Gum: Similar to xanthan, sometimes used in cold foods like ice cream. It can be a bit more... slimy if you overdo it.
- Psyllium Husk Powder: My personal favorite for bread. It creates an incredible, elastic dough that feels almost like regular wheat dough. It also adds fiber.
Building Your Own Gluten Free Flour Blend: A Simple Blueprint
You can buy blends, but making your own is cheaper and lets you control the texture. Here's a reliable, all-purpose starting blend. I use this for about 80% of my gluten free baking.
| Ingredient | Amount (by weight is best!) | What It Does |
|---|---|---|
| White Rice Flour | 40% (e.g., 200g) | Provides main structure, neutral base. |
| Brown Rice Flour | 20% (e.g., 100g) | Adds slight nuttiness and fiber. |
| Tapioca Starch | 20% (e.g., 100g) | Adds chew and elasticity. |
| Potato Starch | 20% (e.g., 100g) | Retains moisture for a tender crumb. |
| Plus, per cup of blend: | 1 tsp Xanthan Gum | The essential binder. |
Whisk it all together thoroughly in a big bowl and store it in an airtight container. See? Not so scary. This blend works well for cookies, muffins, pancakes, and basic cakes. For yeast breads, I tweak it (more on that later).
Converting Your Favorite Recipes to Gluten Free
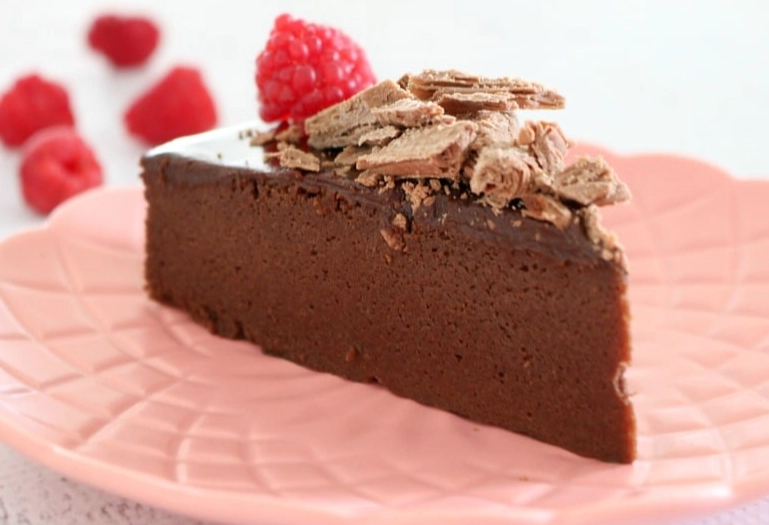
This is where the magic happens. You don't have to abandon your grandma's chocolate cake recipe. You just need to be a smart translator.
- Swap the Flour: Use your homemade blend or a trusted store-bought gluten free all-purpose flour that includes a binder. For every cup of regular flour, use 1 cup of your GF blend. (Yes, it's a 1:1 volume swap, but weighing is more accurate).
- Increase the Leavening (Sometimes): GF batters are often heavier. Try increasing baking powder or soda by about 1/4 to 1/2 teaspoon per cup of flour to help with lift.
- Don't Overmix: There's no gluten to over-develop, so that's not the worry. But you can over-stir starches. Mix just until the ingredients are combined. A few lumps are fine.
- Let the Batter Rest: This is a golden rule. Give your batter or dough 20-30 minutes to rest before baking. This allows the flours and starches to fully hydrate, which reduces grittiness and improves texture dramatically.
- Adjust Liquids: GF flours can be thirsty or not thirsty at all, depending on the blend. Your batter should look like the batter in the original recipe. If it's too thick, add a tablespoon of liquid (milk, water) at a time. Too thin? A sprinkle more flour blend.
The Top 5 Gluten Free Baking Mistakes (And How to Dodge Them)
Everyone makes these. Let's learn from my errors.
Mistake #2: Skipping the Binder. No xanthan gum, psyllium, or similar? Your cookies will be a pile of crumbs. It's non-negotiable for structure.
Mistake #3: Baking by Time, Not Sight. Gluten free goods often need longer at a slightly lower temperature to set properly in the center without burning. Use the toothpick test, but also look for golden edges and a top that springs back when lightly touched.
Mistake #4: Expecting an Identical Texture. Gluten free bread will never have the exact same chewy, stringy pull as a traditional baguette. And that's okay! It develops its own delicious qualities—a tender, moist crumb, a wonderful crust. Appreciate it for what it is.
Mistake #5: Storing It Like Regular Bread. GF baked goods stale faster because they lose moisture quickly. Always store them airtight. Most breads and muffins are best sliced and frozen, then toasted straight from the freezer.
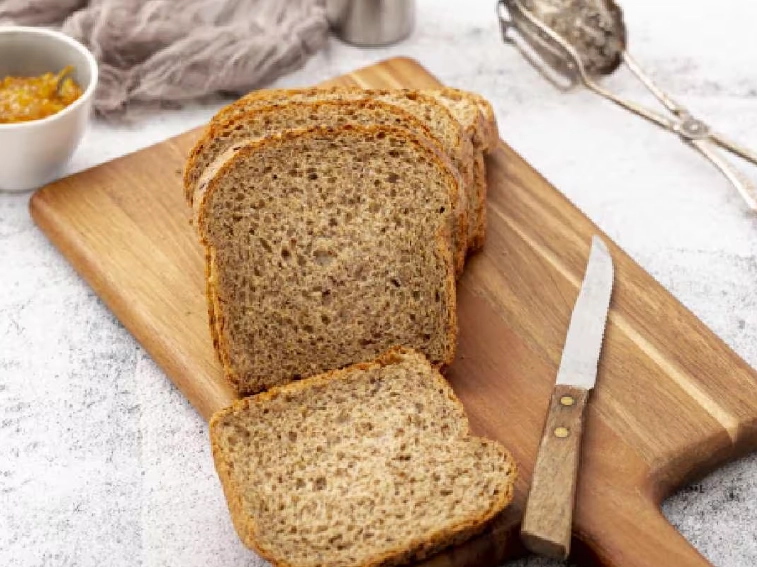
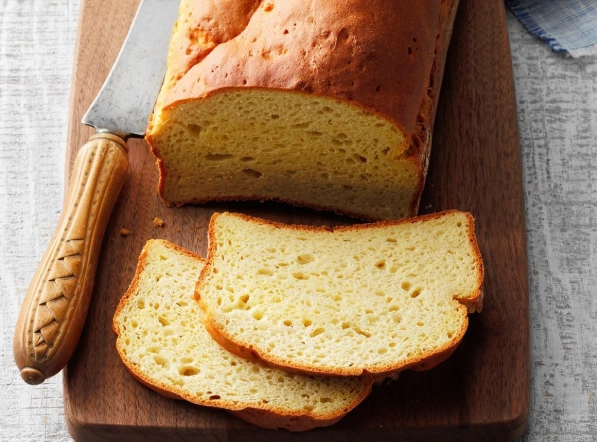
Special Focus: Conquering Gluten Free Yeast Bread
This is the holy grail, right? A loaf of sandwich bread that doesn't taste like cardboard. The rules change a bit here.
First, consider a flour blend with more protein. Adding a bit of millet flour or sorghum flour can help. But the real secret weapon for gluten free bread baking is psyllium husk powder. It creates a gel when mixed with water that gives the dough unbelievable elasticity and structure. You can actually knead it and shape it.
Second, hydration is key. Gluten free bread dough should be much wetter than you think—more like a very thick cake batter than a kneadable dough. Don't be tempted to add more flour.
Third, proofing. It will rise, but maybe not double in the same way. Let it get nice and puffy. Baking in a loaf pan is almost essential for support. For a fantastic deep dive into the food science behind this, the American Celiac Disease Alliance has resources on safe ingredients, and researching "hydrocolloids" (like psyllium and xanthan) on a site like the USDA's FoodData Central can give you a scientific perspective on how these binders function.
Answering Your Gluten Free Baking Questions
This is the most common issue. You're likely using a blend that's too high in rice flour and too low in moisture-retaining starches (like potato starch) or ingredients like almond flour. Not enough fat or liquid in the recipe can also be the culprit. Try adding an extra egg yolk, a tablespoon of oil, or some applesauce to your next batch.
Absolutely! You start with a gluten free flour (brown rice or sorghum are great) and water. The process is similar, but your starter will be thinner and your final bread will have a different, but wonderfully tangy, character. It's a fun project.
Too much butter or sugar, or not enough structure. Chill your dough for at least an hour (or overnight). Make sure your blend has a binder. You can also try reducing sugar by a tablespoon or two, as sugar promotes spreading.
Only if you have celiac disease, gluten sensitivity, or a wheat allergy. For everyone else, it's not inherently healthier. In fact, many gluten free baked goods rely on more sugar, fat, and refined starches to compensate for texture and flavor. The healthiest approach is to use whole-grain GF flours (like certified GF oat, buckwheat, almond) and add nutrients through seeds, nuts, and fruit.
A Final Word of Encouragement
Look, gluten free baking has a learning curve. Your first few tries might be just okay. That's normal. I still have flops when I try something new. The key is to start simple—a batch of chocolate chip cookies, a basic muffin—and master the techniques there.
Pay attention to how the batter feels. Note what works and what doesn't. Before long, you'll develop an intuition for it. You'll know when a batter needs more liquid, when a dough has rested enough, when that bread is perfectly proofed.
Leave a Comment