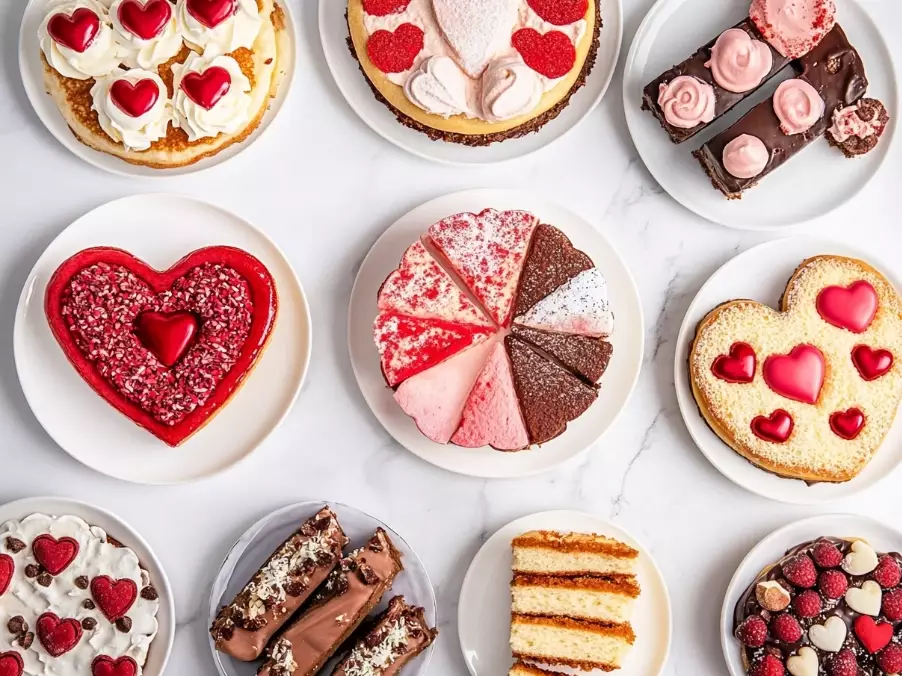
Let's be honest. You see those flawless, multi-tiered cakes with intricate sugar flowers and airbrushed designs online, and your heart sinks a little. You want to make a special cake, but you don't have a pantry full of professional tools, a steady hand for piping, or hours to spare. I've been there. My first "simple" decoration attempt ended with more frosting on me than the cake. The good news? The best cake decorating starts with ideas that are genuinely simple, quick, and use what you already have. Forget the complex stuff. This guide is about making a beautiful, impressive cake without the stress.
Your Quick Guide to Stress-Free Decorating
How to Decorate a Cake with Fresh Fruit
Fruit is the ultimate cheat code. It adds vibrant color, fresh flavor, and a look that says "I know what I'm doing" with almost zero skill required. The key is in the arrangement, not the technique.
Start with a base. A naked cake (where the cake layers peek through) or a cake with a simple, smooth coat of frosting works perfectly. You're not hiding the fruit; you're showcasing it.
The Classic Berry Cascade
This is my go-to for a summer birthday. It takes 5 minutes.
- Pick two or three berries for contrast: strawberries, blueberries, raspberries, blackberries.
- Wash and dry them thoroughly. Wet fruit makes frosting run.
- Start placing larger fruits (halved strawberries) around the bottom edge of the cake.
- Let the berries tumble up one side in a casual, flowing pattern. Fill gaps with smaller berries like blueberries or raspberries.
- A light dusting of powdered sugar over the top just before serving makes it magical.
The Elegant Citrus Slice
For a less sweet, more sophisticated look, thin slices of citrus are stunning. Use a very sharp knife or a mandoline to get paper-thin slices of lemon, orange, or blood orange. Pat them dry with a paper towel. Arrange them in a single, overlapping layer on top of the cake, like fish scales. The translucent slices against a white cream cheese frosting is a showstopper.
Pro Tip Everyone Misses: Don't just throw fruit on. Think about color blocking. Cluster all your raspberries in one quadrant, blueberries in another. Or create a gradient from dark berries at the bottom to light fruits (like sliced peaches or yellow raspberries) at the top. This intentional look beats a random scatter every time.
Simple Cake Decorating with Chocolate & Candy
Chocolate is forgiving. If it breaks, you eat the evidence. Here are two foolproof methods that look far more technical than they are.
The 2-Minute Chocolate Drip
Drips intimidate people, but a semi-controlled "drip" is easy. You don't need perfect temperature control.
Melt about 1/2 cup of chocolate chips with 2-3 tablespoons of heavy cream in the microwave (30-second bursts, stir well). Let it cool for 5 minutes—it should be slightly thicker than syrup. Pour a pool of it in the center of your chilled cake. Then, take a spoon, scoop a little, and gently guide it over the edge at different points. Let gravity do the work. The drips will be uneven, and that's the charm. It looks artistic, not faulty.
Candy & Cookie Crunch Border
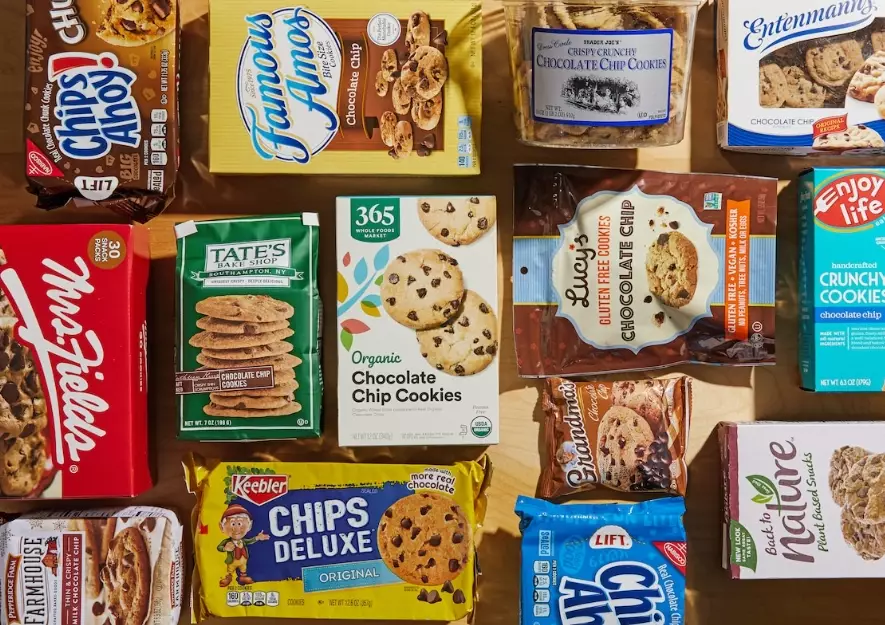
This is a huge hit with kids and solves the "bare sides" problem. Crush your favorite candy bars (like Snickers or Heath bars), chocolate-covered toffee bits, or even Oreos. Put the crumbs in a bowl. After frosting your cake, gently lift it and, holding it over the bowl, press the crumbs onto the sides with your hand. It's messy, fun, and creates a fantastic textured border that hides any frosting imperfections. For the top, press whole cookies or larger candy pieces into the frosting.
| Everyday Item | How to Use It for Decorating |
|---|---|
| Fork | Create a rustic wood-grain texture by dragging the tines through frosting in straight lines. |
| Butter Knife | Make simple swirls, peaks, or a "wavy sea" pattern on frosting. |
| Vegetable Peeler | Shave large curls from a block of chocolate for elegant garnishes. |
| Ziplock Bag | Snip a tiny corner off to make a makeshift piping bag for drizzles or dots. |
| Tea Strainer/Sieve | Dust cocoa powder or powdered sugar in patterns. Place a paper doily on the cake first, dust, then lift for a lace effect. |
Creating Visual Interest with Texture & Edible Toppings
Sometimes, the most beautiful cakes have no "decorations" at all—just incredible texture. This is where you can really get creative with zero extra ingredients.
The Swirl & Peak Method: Using a simple offset spatula or even a butter knife, apply your frosting. Instead of trying to get it smooth, lean into the texture. Turn your wrist to create large, dramatic swirls. Or, touch the tip of your knife to the frosting and pull up quickly to form soft peaks all over the cake. It looks intentional, modern, and beautifully imperfect.
Edible Flower & Herb Sprinkle: This isn't just about lavender. Think edible pansies, rose petals, tiny mint leaves, or even borage flowers. A light sprinkle of these across the top of a cake transforms it instantly. Ensure they are unsprayed and food-safe. I often get mine from a local farmer's market.
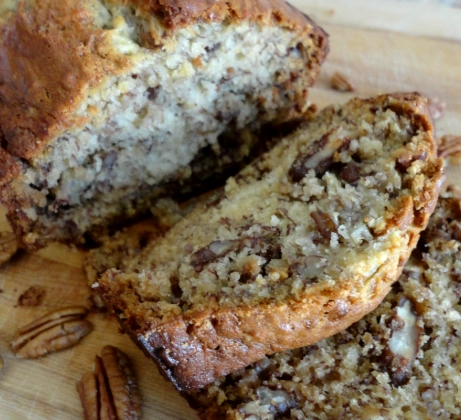
The Toasted Element: A sprinkle of toasted coconut flakes, chopped nuts (pecans, almonds, hazelnuts), or even rolled oats adds warmth, crunch, and a gourmet touch. Toast them in a dry pan until fragrant, let them cool, and press them onto the sides or scatter on top.
The 3 Non-Negotiable Tips for Beginners (From My Many Mistakes)
These aren't about technique, but about setup. Get these wrong, and even the simplest idea becomes frustrating.
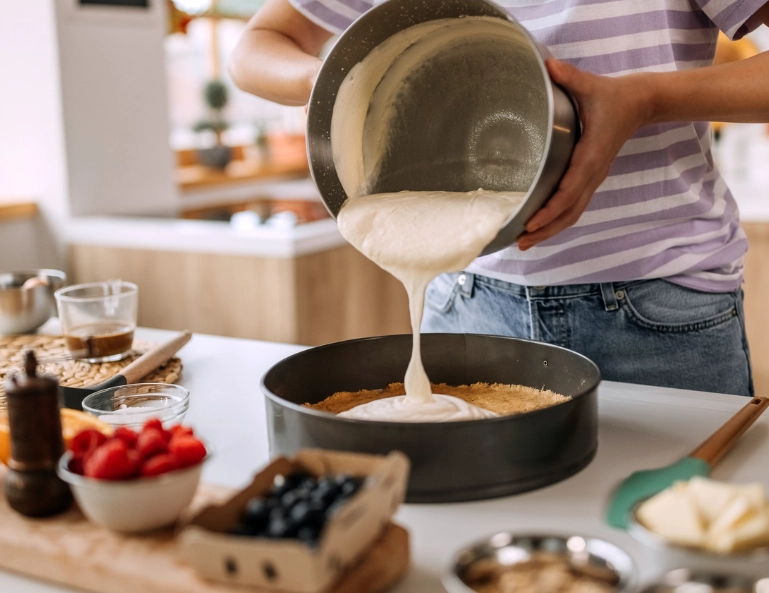
1. The Cake Must Be Cool. Completely. I mean room-temperature, not-warm-to-the-touch cool. If you frost a warm cake, the frosting will melt, slide, and become a greasy mess. Bake the cake, let it cool in the pan for 15 minutes, then remove it to a wire rack for at least 2 hours. Better yet, wrap it and pop it in the fridge overnight. A cold cake is sturdier and easier to handle.
2. Do a "Crumb Coat." This sounds fancy but it's just a thin first layer of frosting. Spread a very thin layer all over the cake to trap all the loose crumbs. Then, pop the cake in the freezer for 15 minutes. This seals the crumbs in. When you apply your final, beautiful layer of frosting, it will be smooth and crumb-free. This one step elevates your result more than any other.
3. Your Frosting Consistency is Everything. For spreading with a knife, frosting should be like smooth, creamy peanut butter. Too stiff, and it will tear the cake. Too runny, and it won't hold its shape. If it's too stiff, beat in a teaspoon of milk or cream. If it's too runny, chill it for 20 minutes or add a bit more powdered sugar. Getting this right solves 80% of decorating headaches.
Leave a Comment