Ask a dozen bakers for the secret to a good red velvet cake, and you'll get a dozen different answers. Some swear by a specific brand of cocoa. Others talk about vinegar. Most just point to that bottle of red dye.
They're all wrong. Or rather, they're all a little bit right, but they're missing the bigger picture.
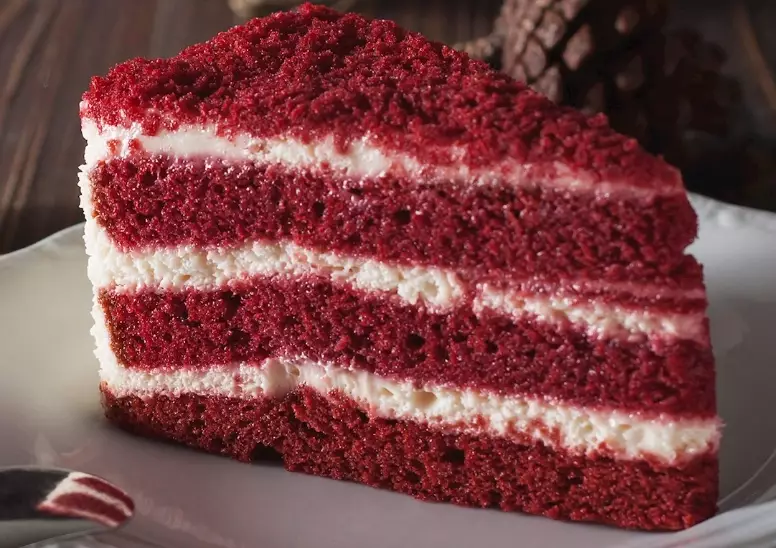
The truth is, a perfect red velvet cake is an exercise in balance and food chemistry. It's not a chocolate cake dyed red. It's a unique entity—tender, moist, with a subtle tang and the faintest whisper of chocolate. Getting it right means understanding the why behind each step. After more failed cakes than I care to admit (we've all had the dry, crumbly ones, right?), I've nailed down what actually matters.
What You'll Learn in This Guide
Secret #1: Buttermilk is Non-Negotiable
This is the hill I will die on. You cannot, I repeat, cannot make a true red velvet cake with a buttermilk substitute like milk and lemon juice. Not if you want the real thing.
Here's why. Real cultured buttermilk is slightly acidic and thick. That acidity does two crucial jobs.
First, it tenderizes the gluten in the flour. This gives you that famously soft, velvety crumb that the cake is named for. A milk substitute just doesn't have the same cultured tang or consistent acidity to do this properly.
Second, it reacts with the baking soda. This reaction is what gives the cake a significant part of its lift. Without the right acid, your baking soda is just dead weight, and your cake will be dense.
Pro Tip: Don't have buttermilk? The best supermarket alternative is plain, full-fat Greek yogurt thinned with a little milk to a pourable consistency. It's still cultured and acidic. But really, just buy the buttermilk.
Secret #2: Cocoa Choice Changes Everything
Most recipes just say "cocoa powder." This is where they set you up for failure. There are two main types, and using the wrong one will kill your color.
- Natural Cocoa Powder: This is acidic. It's the one you want. Its acidity plays nicely with the buttermilk and baking soda, enhancing the rise and, crucially, helping the red food coloring bloom to a brighter, truer red. Think of brands like Hershey's Natural.
- Dutch-Process Cocoa Powder: This has been treated with an alkali to neutralize its acids. It's richer, darker, and milder in flavor. It's fantastic for brownies. For red velvet, it's a disaster. It turns your batter a dull, muddy burgundy or even brown, no matter how much dye you add.
I learned this the hard way. I once used a fancy Dutch-process cocoa, thinking "higher quality" must be better. The cake tasted fine—like a mild chocolate cake. But the color was a sad, pinkish-brown. Not the dramatic red I was promised.
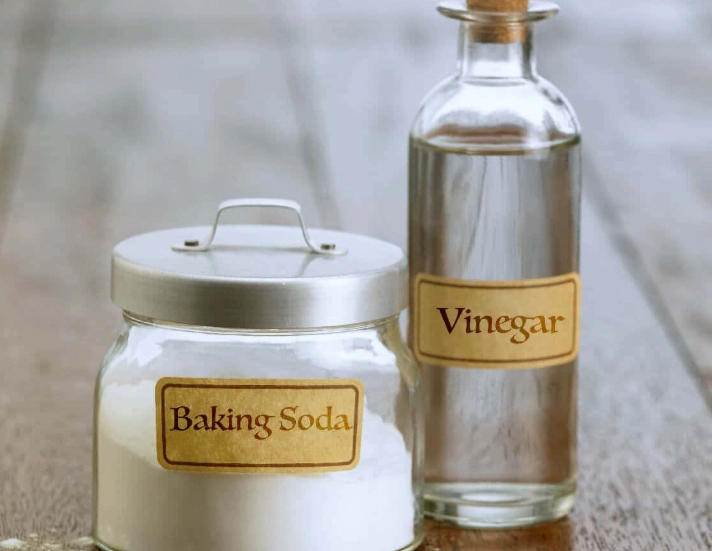
Secret #3: The Vinegar Trick (And Why It Works)
A tablespoon of white vinegar in a cake batter seems weird. It's not.
This is pure food science. The vinegar (an acid) supercharges the reaction with the baking soda (a base). This creates tons of tiny carbon dioxide bubbles right as the cake goes into the oven, resulting in an exceptionally light and airy texture.
You won't taste the vinegar. I promise. It gets completely neutralized in the reaction. What you're left with is the benefit: a higher, more even rise and that signature tender bite.
Secret #4: The Most Overlooked Ingredient
Patience.
Seriously. Rushing a red velvet cake is the quickest path to mediocrity.
Patience with mixing: Once you add the dry ingredients to the wet, you mix just until combined. Overmixing develops gluten, leading to a tough, rubbery cake. A few streaks of flour are fine. They'll incorporate.
Patience with cooling: You must let the cakes cool completely in their pans, on a wire rack, before you even think about frosting. If you try to frost a warm cake, the cream cheese frosting will melt into a sad, runny mess. Wait at least two hours. Wrap them in plastic and wait overnight if you can—it makes them even moister.
Patience with ingredients: Your butter, eggs, and buttermilk should be at true room temperature, not just slightly cool. This ensures they emulsify properly with the oil and sugar, creating a smooth, homogeneous batter that bakes evenly.
The 3 Mistakes That Ruin Red Velvet Cake
Let's be blunt. Here's what goes wrong, and how to avoid it.
| Mistake | What Happens | How to Fix It |
|---|---|---|
| Using liquid food coloring | Adds too much water, diluting flavor. Color fades during baking. Can cause streaks. | Use gel food coloring. It's concentrated, so you use less, and the color stays vibrant. |
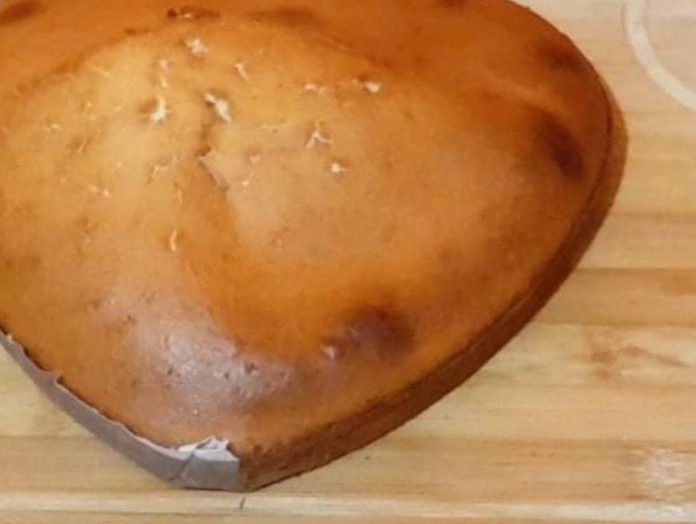
| Overbaking | The single biggest cause of dry cake. The edges pull away, the top feels firm, and the crumb is sandy. | Start checking 5-7 minutes before the recipe says. A toothpick should have a few moist crumbs, not be clean. |
| Skimping on the fat (butter/oil) | Some try to "healthify" it. Red velvet needs the fat for its rich, moist texture. It becomes dry and bland. | Use the full amount of butter and oil the recipe calls for. It's a celebration cake. Embrace it. |
A Quick Note on Frosting: The classic pairing is cream cheese frosting. The biggest mistake here is using low-fat cream cheese or butter that's too soft. Use full-fat brick cream cheese and beat it with cool, but not cold, butter. If your frosting is soupy, chill the bowl and beaters for 10 minutes, then whip again.
Your Red Velvet Questions, Answered
 So, what's the secret to a good red velvet cake? It's respecting the formula. It's understanding that buttermilk, natural cocoa, vinegar, and oil aren't random choices—they're a chemical team working to create something specific. Skip the shortcuts, pay attention to the details most recipes gloss over, and you'll move from a red-colored cake to the real, velvety deal.
The reaction in the bowl when you add that vinegar? That's the sound of success.

Leave a Comment