What's Inside This Guide
Let's be honest. We've all been there. You follow a chocolate chip cookie recipe to the letter, but yours come out flat as a pancake while the blogger's photo shows plump, chewy perfection. Your cake sinks in the middle. Your bread is dense. It's frustrating, and it makes you wonder if baking just isn't for you.
I spent years thinking I was cursed. Then I worked in a professional bakery for a summer, and the head baker, a grumpy woman named Marta, drilled five simple things into my head. They weren't about fancy techniques or secret ingredients. They were about control and consistency. Once I started treating these as rules, not suggestions, everything changed.
Here are the five rules. They sound simple, but mastering them is the difference between good and great, between frustration and a perfect slice of cake.
Rule 1: Measure Like a Scientist, Not a Chef
Cooking is an art. Baking is a science. The most common point of failure is right at the start: inaccurate measurement.
The biggest culprit? Flour. Scooping your measuring cup directly into the flour bag packs it down. You could end up with 20-25% more flour than the recipe intends. That's why your cookies are dry and your cake is tough.
For liquids, use clear liquid measuring cups on a flat surface and check at eye level. A meniscus (that curve at the top of the liquid) can trick you.
And here's my non-consensus take: Stop using cups entirely if you can. A $20 digital kitchen scale is the single best investment a home baker can make. Why? A cup of flour can weigh anywhere from 120 to 150 grams depending on how it's settled. A recipe from King Arthur Flour (a fantastic authority) is developed using their specific weight (120g per cup of all-purpose). If your flour is packed, you're off by 30 grams from the start. Weights don't lie. 150 grams of flour is always 150 grams.
What About Brown Sugar?
This one's the exception to the spoon-and-level rule. Brown sugar needs to be packed into the cup. Press it down firmly until it holds the shape of the cup when inverted. That moisture content is crucial for chewy textures.
Rule 2: Respect the Temperature (All of Them)
Temperature isn't just about your oven. It's about your ingredients and your environment.
Oven Temperature: Your oven dial is a liar. I'm serious. Most home ovens run 25°F hot or cold. An oven thermometer is non-negotiable. Preheating is not optional. Give it a full 20-30 minutes, not just until the light goes off. The walls need to heat up to create a stable environment.
Ingredient Temperature: This is where I see the most subtle, recipe-wrecking mistakes. "Room temperature" butter doesn't mean "soft." It means about 65-68°F (18-20°C). It should be cool to the touch but leave a slight indentation when you press it. If it's greasy or shiny, it's too warm. Warm butter won't trap air during creaming, leading to flat cakes.
Conversely, cold ingredients like milk or eggs can re-solidify tiny bits of butter in your batter, creating a curdled look. It bakes out fine, but it's a sign you're not in control.
Rule 3: Mix With Intention, Not on Autopilot
Every mixing step has a purpose. Over-mixing is the enemy of tenderness; under-mixing is the enemy of structure.
The Creaming Method (for cakes & cookies): You're not just combining butter and sugar. You're forcing tiny air pockets into the butter. Cream on medium speed for a full 2-3 minutes until the mixture is noticeably paler and fluffy. This is your leavening foundation.
The Muffin Method (for quick breads & muffins): Mix wet and dry ingredients separately, then combine them with as few strokes as possible. A lumpy batter is perfect. Over-mixing here activates too much gluten, giving you tough, peaked muffins with tunnels inside.
My personal nemesis was scraping the bowl. You know, that moment when you add flour and there's still a stripe of unmixed butter and sugar at the bottom? You have to stop the mixer and scrape the bowl down thoroughly, usually halfway through adding dry ingredients and once more at the end. That unmixed stripe bakes into a greasy, dense layer. I've cut into cakes and found it.
Rule 4: Prepare Your Pan Like You Mean It
This feels like a chore, but it's insurance. There's no heartbreak like a beautiful cake stuck irrevocably to the pan.
For most cakes, butter + flour is the gold standard. Use softened butter (not melted) and a pastry brush to coat every crevice. Add a tablespoon of flour, tap and rotate the pan until it's evenly coated, then tap out the excess. For chocolate cakes, use cocoa powder instead of flour to avoid a white dusting.
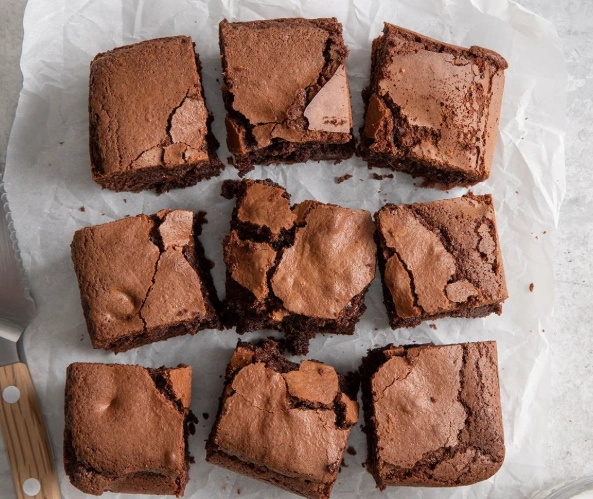
Parchment paper is a baker's secret weapon. A round on the bottom of a cake pan guarantees a clean release. For brownies and bars, let the parchment hang over two sides like a sling so you can lift the entire block out.
And don't just grease the bottom. Grease the sides about halfway up. This allows the cake to climb the pan properly as it rises. If the sides are too slick, the cake can't grip and might not rise as high.
Rule 5: Trust Your Senses, Not Just the Timer
Recipes give times, but your oven, your pan material (dark vs. light metal), and even the weather affect baking time. The timer is a suggestion, not a command.
The Real Tests for Doneness:
- Visual Cue: The edges should pull away from the pan slightly and be golden brown.
- Touch Test: For cakes, the center should spring back when gently pressed. If your fingerprint remains, it needs more time.
- The Toothpick Test (But Do It Right): Insert a toothpick or skewer into the center of the cake. It should come out with a few moist crumbs clinging to it, not wet batter. Clean can mean over-baked and dry for some recipes.
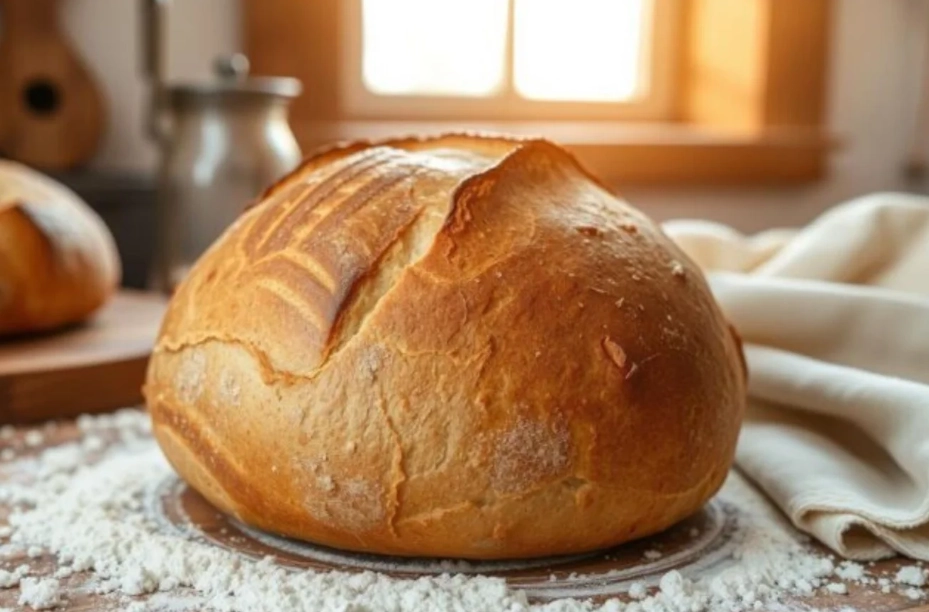
- Internal Temperature: For bread and cheesecakes, this is foolproof. A digital instant-read thermometer is key. Most bread is done at 190-210°F (88-99°C).
Remember, residual heat continues to cook things after they come out of the oven. Let items cool in the pan for the time specified in the recipe—usually 10-15 minutes for cakes—before turning them out onto a wire rack. This allows the structure to set so it doesn't collapse under its own weight.
Those are the five pillars. They're boring, fundamental, and utterly transformative. They work whether you're making a $2 boxed mix or a ten-layer wedding cake.
Your Burning Baking Questions
Baking isn't magic. It's a series of small, controlled steps. Master these five rules, and you'll move from blindly following recipes to understanding why they work. You'll start to diagnose problems. You'll gain confidence. And most importantly, you'll get consistent, delicious results that make you want to bake again and again.
Now, go preheat your oven. And check it with a thermometer.

Leave a Comment