What You’ll Learn
Let's be real. We've all been there. You follow a recipe to the letter, your kitchen smells amazing, but when you pull that cake out of the oven... it's sunk in the middle. Or it's dry as sawdust. Or it's got weird tunnels running through it. It's frustrating, and it makes you want to just buy a cake from the store. But hold on. I've been baking cakes at home for years, and I've made every single one of those mistakes. More than once. The good news is, cake baking isn't magic. It's just science you can eat. Once you understand a few fundamental baking tips for cakes, you can move from frustration to consistent success.
This isn't about fancy techniques or expensive tools. It's about getting the basics right. I'm going to share what I've learned the hard way, so you don't have to. We'll talk about why room temperature matters way more than you think, how to tell if your cake is really done, and the single most important step most people skip. Forget the perfect Instagram cake for a second. Let's just make a really good, reliable cake.
Before You Even Turn On the Oven: The Foundation
Most cake failures happen before the batter even hits the pan. Getting your prep right is 80% of the battle. This is where those crucial baking tips for cakes really pay off.
Ingredient Temperature is Not a Suggestion
This is the hill I will die on. Recipes say "room temperature" for eggs, butter, and dairy for a scientific reason, not to be annoying. Cold butter doesn't cream properly with sugar. You won't get that light, fluffy base that traps air and gives your cake lift. Cold eggs or milk can cause the creamed butter to seize up and look curdled. It might still bake okay, but you've lost valuable air volume.
My method? Take the butter, eggs, and milk out about 1-2 hours before I start. If I forget (which happens), I'll put cold eggs in a bowl of warm water for 10 minutes. For butter, I sometimes grate it with a cheese grater—it warms up super fast. For milk, a quick 15-second zap in the microwave takes the chill off. These little hacks are part of my core cake baking tips arsenal.
Weigh Your Ingredients. Seriously.
I resisted this for years. Cups were fine! Then I started weighing my flour. The difference was undeniable. A cup of flour can weigh anywhere from 120 to 150 grams depending on how you scoop it. That's a massive variance that can turn a perfect cake into a dry brick. A simple digital scale is the best investment a home baker can make. It's precise, it's faster (no more spooning and leveling five cups of flour), and it leads to consistent results every single time. The King Arthur Baking Ingredient Weight Chart is my go-to reference for accurate weights. It's a fantastic resource from a trusted authority.
Flour is the big one, but it applies to sugar too. Brown sugar, if packed differently, can throw off moisture balance.
Prepping Your Pans the Right Way
Greasing and flouring is the old standard, but it can leave a weird white residue on your cake. My preferred method for most cakes is parchment paper. Line the bottom of the pan with a circle of parchment, then give the sides a light coat of butter or baking spray. It guarantees a clean release every time. For really delicate cakes like chiffon or angel food, you don't grease the pan at all—the cake needs to cling to the sides as it cools to maintain its height.
And preheat your oven. Fully. Don't just turn it on when you start mixing. An oven thermometer is another cheap tool that's worth its weight in gold. Oven thermostats are often wrong. Mine runs 15 degrees hot. If I didn't know that, I'd be wondering why my cakes were always overdone on the edges.
The Mixing & Batter Stage: Where Texture is Born
This is where you develop the cake's crumb. Over-mix, and you get tough. Under-mix, and you get pockets of raw flour or uneven rising. Knowing what you're doing at each stage is a game-changer.
The Creaming Method (Butter Cakes)
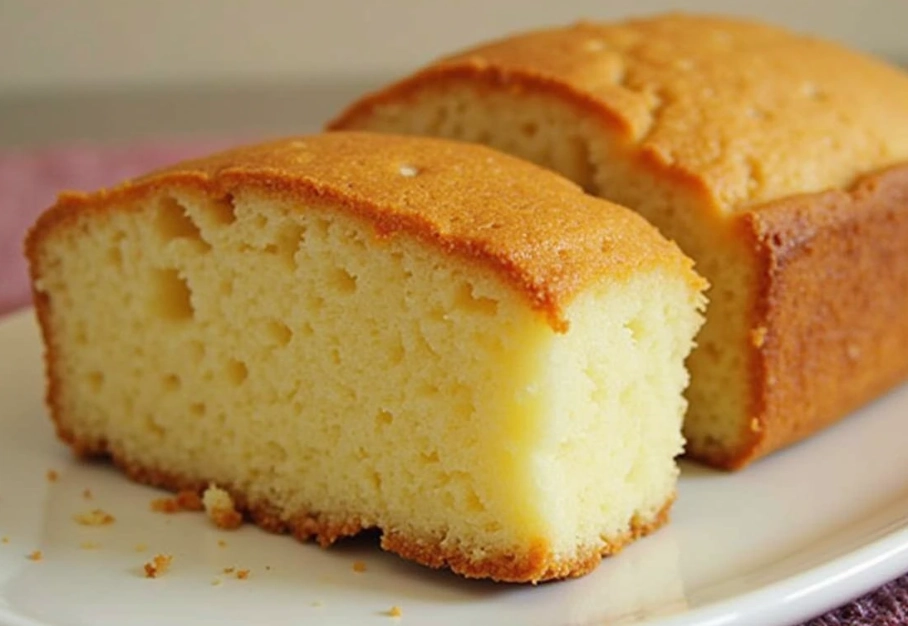
For most classic butter cakes (vanilla, chocolate, pound cake), you start by creaming butter and sugar. The goal is to dissolve the sugar slightly and, more importantly, whip tiny air bubbles into the butter. These bubbles expand in the oven, acting as a leavening agent. Use your stand mixer or hand beaters on medium-high speed for a good 3-5 minutes. It should turn noticeably pale and fluffy. This step alone is one of the most vital baking tips for cakes for a light texture.
Then you add eggs, one at a time, letting each fully incorporate before adding the next. This prevents the mixture from breaking (looking curdled). If it does break a little, don't panic. Adding a spoonful of your measured flour can help bring it back together.
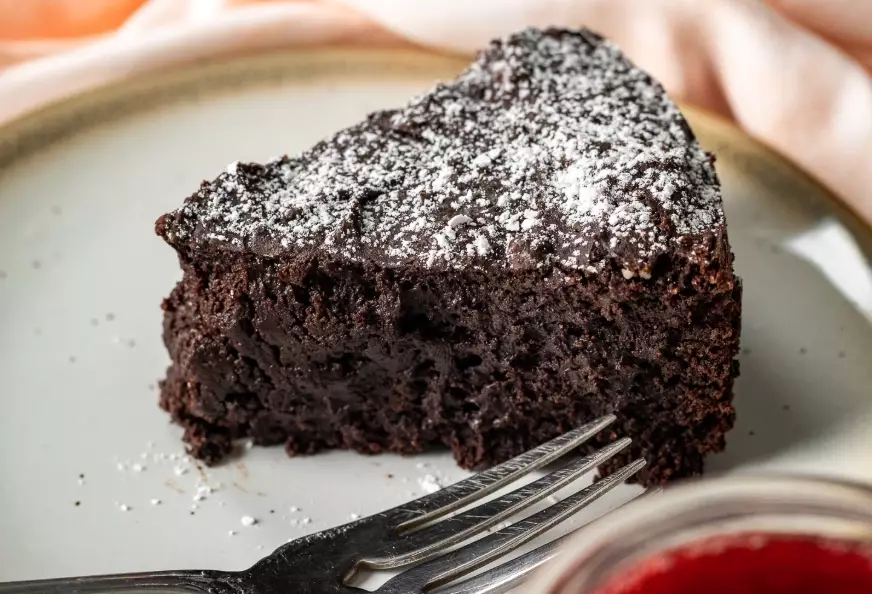
The Muffin Method (Often for Oil-Based Cakes)
For cakes that use oil instead of butter (like many carrot cakes or super-moist chocolate cakes), the method is different. You mix all your dry ingredients in one bowl. In another, you whisk all your wet ingredients. Then you combine them. The key here is to mix only until just combined. A few lumps are absolutely fine. Over-mixing here develops gluten in the flour super quickly, leading to a tough, rubbery cake. Stir by hand with a spatula, not a mixer.

Folding in Dry Ingredients & Add-Ins
After adding your wet ingredients to the creamed mixture, you alternate adding the dry ingredients (flour, baking powder, salt) and any liquid (like milk). Start and end with the dry ingredients. This helps prevent over-mixing. Use the mixer on the lowest setting, or better yet, switch to a spatula for the last additions.
When adding delicate things like whipped cream, egg whites, or flour-dusted berries, you fold. Cut through the center of the batter with your spatula, scoop down, and bring it up and over the top. Turn the bowl a quarter turn and repeat. It's gentle and preserves air.
I once ruined a beautiful berry cake by just stirring the berries in vigorously. They all sank to the bottom and bled everywhere. Lesson learned the messy way.
During the Bake: Patience and Observation
The oven is not a set-it-and-forget-it appliance. What happens in there determines your final product.
Oven Rack Position & Avoiding the Peek
Place your rack in the center of the oven. This ensures even heat circulation. And resist the urge to open the oven door for at least the first 2/3 of the baking time. Every time you open it, you let out a massive blast of hot air, causing the temperature to plummet. This can make cakes fall or bake unevenly. Trust the process and use the oven light to check.
How to REALLY Tell When a Cake is Done
The toothpick test is classic, but it's not the whole story. A toothpick inserted into the center should come out with a few moist crumbs clinging to it, not wet batter. If it's completely clean, the cake is likely over-baked and will be dry.
Better tests:
- The Spring-Back Test: Gently press the center of the cake with your fingertip. If it springs back immediately, it's done. If your finger leaves an indent, it needs more time.
- The Edge Test: Look at the edges of the cake. They should be just starting to pull away from the sides of the pan.
- The Internal Temperature: For ultimate precision, use an instant-read thermometer. Most butter cakes are done between 200°F and 210°F (93°C to 99°C). This is a foolproof method I learned from deep-diving into resources from the Land O'Lakes kitchen, which always has reliable, tested advice.
Dealing with Common Baking Problems Mid-Bake
See your cake doming excessively in the center? That's often from too-high oven heat causing the edges to set before the center has fully risen. You can try lowering the temperature slightly for your next bake, or use cake strips (wet fabric strips wrapped around the pan) to insulate the sides and promote even baking.
If the top is getting too dark but the inside isn't done, tent a piece of aluminum foil loosely over the top for the remainder of the bake time.
After the Bake: The Crucial Cool Down
You can bake a perfect cake and ruin it in the cooling process. This is the most overlooked part of all baking tips for cakes.
Let it Rest in the Pan (But Not for Too Long)
For most cakes, let them cool in the pan on a wire rack for about 10-15 minutes. This allows the structure to set just enough so it won't collapse when you turn it out. But don't leave it for hours! The steam trapped inside will make the bottom soggy.
The Flip & Cool Completely
After the short rest, run a thin knife or offset spatula around the edges. Place a wire rack (or your serving plate) on top of the pan, and in one confident motion, flip it over. Gently lift the pan off. If you used parchment, peel it off now. Then let the cake cool completely on the rack. I mean completely. Warm cake crumbles when sliced and will melt your frosting into a sad mess. This can take 2-3 hours. Plan for it.
Want to speed it up? Once it's just warm, you can pop it in the fridge for 30 minutes. But room temperature cooling is best for even texture.
Frosting, Storing, and Serving: The Final Acts
You're almost there. A few final cake baking tips to seal the deal.
Leveling and Torting
If your cake has a slight dome, use a long serrated bread knife to slice it off to create a flat surface. This is called leveling. Want to make a layer cake? You can also "torte" the cake—carefully slice it horizontally into two or even three even layers. Go slow, use a sawing motion, and keep the knife parallel to the counter.
Simple Syrup is a Secret Weapon
Brushing layers with simple syrup (equal parts sugar and water, heated until dissolved, then cooled) is a professional baker's trick. It adds a touch of moisture and sweetness, and is especially great if you feel your cake is a tad on the dry side. You can infuse it with citrus zest, vanilla, or a liqueur for extra flavor.
Storing Your Masterpiece
Unfrosted cakes can be wrapped tightly in plastic wrap and stored at room temperature for a day, or frozen for up to 3 months. Thaw in the fridge overnight. Frosted cakes should generally be refrigerated, especially if the frosting contains dairy (buttercream, cream cheese). Bring slices to room temperature for about 30 minutes before serving for the best flavor and texture.
Your Cake Baking FAQ: Quick Answers to Common Headaches
Let's tackle some specific questions that pop up all the time. I've answered these based on my own trial and error and a lot of research.
Look, baking is supposed to be fun. It's creative and rewarding. But it's also a science. When you understand the "why" behind these baking tips for cakes, you stop being a slave to recipes and start becoming a baker who can adapt and troubleshoot. You'll look at a recipe and think, "Ah, this uses the creaming method, so my butter needs to be soft," or "This has buttermilk and baking soda, so the acid is activating the soda for rise."
Start with one tip. Maybe it's weighing your flour next time. Or being militant about room temperature ingredients. Master that, then add another. Your cakes will improve dramatically. And when you pull that next perfect, moist, evenly-risen cake out of the oven, you'll know it wasn't luck. It was you, applying some solid knowledge.
Now, go preheat your oven. And leave that door shut.
Leave a Comment