Explore This Guide
- Wait, Where Did Red Velvet Cake Even Come From?
- The Science of the Slice: Why Each Ingredient Matters
- The Foolproof, Step-by-Step Red Velvet Cake Recipe
- The Frosting That Makes It All Worth It
- Frosting, Assembly, and Pro Presentation Tips
- So, What Could Go Wrong? (Troubleshooting Your Red Velvet)
- Your Red Velvet Cake Recipe Questions, Answered
- Beyond the Classic: Fun Twists on the Red Velvet Cake Recipe
Let's be honest. You've probably clicked on a dozen red velvet cake recipes before. Some are too complicated, calling for obscure ingredients. Others promise "the best" but turn out dry, bland, or worse, just chocolate cake with red food coloring. It's frustrating. I know because I've been there, wasting good butter and buttermilk on mediocre results.
So why is getting the perfect red velvet cake recipe so tricky? It's a balancing act. That signature tang, the tender crumb, the vibrant color that doesn't taste like chemicals, and the crowning glory of a tangy cream cheese frosting that doesn't turn into soup. It's a lot. This isn't just a cake; it's a project with a history, a science, and a whole lot of opinions.
This guide is different. We're going deep. We'll start with the "why" before the "how." We'll look at where this cake even came from (it's a surprisingly contested history), why each ingredient matters more than you think, and then walk through a recipe that actually works. I'll also share the mistakes I've made so you don't have to. By the end, you'll not only have a stunning red velvet cake recipe but the confidence to understand it and tweak it yourself.
Wait, Where Did Red Velvet Cake Even Come From?
Most food stories get simplified into neat, marketing-friendly tales. The story of red velvet cake is messier, and honestly, more interesting. The popular legend pins its invention to the Waldorf-Astoria hotel in New York, or maybe the Eaton's department store in Canada. But food historians like those at the Smithsonian suggest its roots are older and more Southern.
The original "velvet" cakes in the 1800s were a category of soft, fine-crumbed cakes, often using cocoa as a tenderizer. The red color? That's the real twist. Before potent food dyes, the natural reaction between non-Dutch-processed cocoa (which is acidic) and acidic ingredients like buttermilk and vinegar could sometimes produce a subtle reddish-brown hue. Some old recipes even called for beets, which added moisture and a hint of earthy color and sweetness.
The vibrant, fire-engine red we know today is largely a product of the 20th century, thanks to the marketing genius of food coloring companies like Adams Extract. They promoted the recipe to sell more red dye. It worked spectacularly. So, the modern red velvet cake recipe is a hybrid: an old-fashioned "velvet" cake technique, married to a modern, bold color.
Knowing this changes how you approach the recipe. You're not just making a colored cake. You're aiming for that specific, velvety texture and the subtle tang that defines its heritage.
The Science of the Slice: Why Each Ingredient Matters
This is where most recipes fail you. They list ingredients but don't explain their role. If you understand the "why," you can fix problems on the fly and truly master this red velvet cake recipe.
| Ingredient | Its Real Job (Beyond "Flavor") | What Happens If You Mess It Up |
|---|---|---|
| Cocoa Powder | Use natural, non-alkalized cocoa. Its acidity is crucial for reacting with baking soda and buttermilk, contributing to leavening, tenderness, and that historical hint of red. | Dutch-process cocoa is neutral. Using it can result in a denser, less tangy, and potentially flatter cake. The color reaction is also muted. |
| Buttermilk | The primary source of tang and moisture. Its acidity tenderizes gluten for a soft crumb and activates the baking soda. | Substitutes (milk + vinegar) work in a pinch, but real cultured buttermilk has a thicker body and more complex flavor. Your cake might be less moist. |
| Distilled White Vinegar | A flavor enhancer and chemical catalyst. It boosts the acidity of the buttermilk, ensuring the baking soda works fully and brightens the overall flavor profile. | Leaving it out makes the cake taste flat, less "red velvet-y." The crumb might not be as tender. |
| Oil & Butter | Most great recipes use both. Butter for flavor. Neutral oil (like canola) for guaranteed moisture that doesn't solidify, ensuring the cake stays soft for days. | Using only butter can lead to a slightly drier cake after a day. Using only oil can lack rich flavor. |
| Red Food Coloring | Gel food coloring is non-negotiable. Liquid coloring adds too much water and requires a huge amount for a vibrant hue, which can affect taste and texture. | A pale, pinkish cake. Liquid coloring can make the batter runny and impart a faint chemical aftertaste. |

Personal Aha Moment: I once used Dutch-process cocoa in a rush. The cake was fine… but it was just a mild chocolate cake. My friend took one bite and said, "It's good, but it doesn't taste like red velvet." She was right. That missing tang and the specific crumb structure were gone. The type of cocoa is the silent star of this red velvet cake recipe.
The Foolproof, Step-by-Step Red Velvet Cake Recipe
Alright, enough theory. Let's bake. This recipe is built for success, emphasizing technique over mystery.
What You’ll Need (For the Cake)
Gather this first. Room temperature ingredients are not a suggestion here—they're a requirement for a smooth, emulsified batter that bakes evenly.
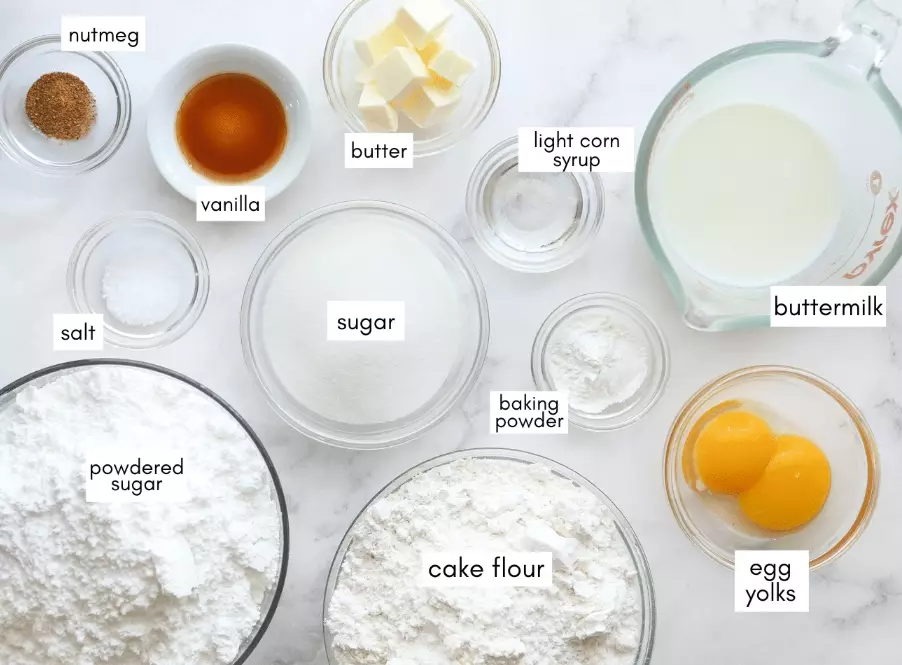
- Dry Goods: 2 ½ cups (315g) all-purpose flour, 2 tablespoons (15g) natural cocoa powder (like Hershey's Natural), 1 teaspoon baking soda, 1 teaspoon fine salt.
- The Wet Team: 1 ½ cups (300g) granulated sugar, ½ cup (113g) unsalted butter (soft), ½ cup (120ml) neutral oil, 3 large eggs, 1 tablespoon vanilla extract, 1-2 oz. red gel food coloring (I use about 1.5 oz for a deep red).
- The Tang Makers: 1 cup (240ml) full-fat buttermilk, 1 teaspoon distilled white vinegar.

The Process: It’s All About the Mixing Order
This isn't a dump-and-stir cake. The creaming method we'll use builds structure.
- Prep: Preheat your oven to 350°F (175°C). Grease and flour two 9-inch round cake pans, and line the bottoms with parchment paper. This guarantees release. Trust me.
- Whisk Dry: In a medium bowl, whisk the flour, cocoa powder, baking soda, and salt. Aerating it here prevents over-mixing later.
- Cream Butter, Sugar, and Oil: In a large bowl, beat the softened butter and sugar for 3-4 minutes until light and fluffy. Slowly drizzle in the oil while beating. This creates a stable, moist base. It will look like a thick, glossy paste.
- Add Eggs & Color: Add eggs one at a time, beating well after each. Then beat in the vanilla and the red gel coloring. Don't be shy—it will look very red, almost alarmingly so. That's good.
- The Alternating Dance: With the mixer on low, add about one-third of the dry ingredients. Mix until just combined. Follow with half of the buttermilk. Repeat, ending with the final third of dry ingredients. Stop mixing the second the last flour streaks disappear.
- The Final Catalyst: In a small cup, stir the vinegar into the last bit of the batter by hand. This quick stir ensures it's evenly distributed without overworking the gluten.
- Bake: Divide the batter evenly between pans. Bake for 25-30 minutes. The test? A toothpick inserted should come out with a few moist crumbs, not wet batter. The cake will also spring back when lightly pressed.
- Cool Completely: Let cakes cool in pans for 10 minutes, then turn out onto a wire rack, peel off parchment, and let them cool completely before frosting. Rushing this is the #1 cause of frosting meltdown.

Biggest Mistake to Avoid: Over-mixing after adding the flour. Gluten development is the enemy of tenderness. Mix on low and only until you no longer see dry flour. A few tiny streaks are better than a tough cake.
The Frosting That Makes It All Worth It
A red velvet cake recipe is only as good as its frosting. And that means cream cheese frosting. Not buttercream with a hint of cream cheese. The real deal.
I learned this the hard way. I used a spreadable tub of cream cheese once. Big mistake. The frosting never set, it wept, and the whole cake slumped. Use only full-fat, brick-style cream cheese. The kind you find in the dairy aisle, not the tubs in the spreads section. The stabilizers in spreadable cream cheese ruin the frosting's structure.
For a frosting that's stable, pipeable, and perfectly tangy, you need:
- 16 oz (two 8-oz bricks) full-fat cream cheese, cold
- 1 cup (226g) unsalted butter, softened
- 1 tablespoon vanilla extract
- ¼ teaspoon fine salt
- 4-5 cups (480-600g) powdered sugar, sifted
Method: Beat the cold cream cheese and softened butter together until completely smooth and no lumps remain. This can take 3-4 minutes. Add vanilla and salt. Then, with the mixer on low, gradually add the sifted powdered sugar until incorporated. Then beat on medium-high for 2-3 minutes until very light and fluffy. The cold cream cheese and the prolonged beating incorporate air, making it stable. If your kitchen is hot, pop the finished frosting in the fridge for 20 minutes before using.
According to the International Dairy Foods Association, cream cheese must contain at least 33% milk fat and have a moisture content of no more than 55%. This fat-to-moisture ratio is key for a stable frosting. Brick-style cheeses are formulated to meet this standard for baking.
Frosting, Assembly, and Pro Presentation Tips
Cool cakes are non-negotiable. I stick mine in the freezer for 30 minutes before assembling. A cold cake is sturdier and crumbles less.
Place a small dollop of frosting on your cake stand or plate to anchor the first layer. Add the layer, then spread about ¾ cup of frosting evenly. Top with the second layer. Apply a thin "crumb coat" of frosting over the entire cake—a thin layer that traps any loose crumbs. Chill for 15-20 minutes. Then, apply the final, thick, beautiful layer of frosting.
Simple Decoration Win: Use a bench scraper or large spatula to smooth the sides. Then, using a piping bag with a large star tip, pipe swirls around the top edge. In the center, pile a mountain of red velvet cake crumbs saved from leveling your layers. It looks professional and promises that classic flavor.
So, What Could Go Wrong? (Troubleshooting Your Red Velvet)
Problem: Cake is dense and didn't rise much.
Likely Cause: Old baking soda, over-mixed batter, or incorrect cocoa (using Dutch-process). Baking soda loses potency fast. Test it by dropping a bit in vinegar—it should bubble vigorously.
Problem: Frosting is runny and soupy.
Likely Cause: Using spreadable cream cheese, using warm ingredients, or not beating it long enough. Full-fat, cold brick cheese and a good 3-minute whip are essential.
Problem: Cake is dry.
Likely Cause: Over-baking or measuring flour incorrectly. Spoon flour into the cup and level it off; don't scoop. Check cakes at the 25-minute mark.
Problem: Color is pink or orange, not red.
Likely Cause: Not using enough gel coloring, or the batter was too alkaline (Dutch-process cocoa again). Natural cocoa + enough gel = true red.
Your Red Velvet Cake Recipe Questions, Answered
You can, but it won't be "red" velvet. The flavor will still be excellent—tangy, moist, and cocoa-kissed. Some people add pureed beets (about 1 cup, drained well) for a natural reddish hue and extra moisture, but the color is more earthy burgundy than vibrant red. It's a delicious, if different, cake.
Absolutely. For cupcakes, fill liners ⅔ full and bake for 18-22 minutes. This red velvet cake recipe makes about 24 standard cupcakes. For a 9x13 sheet cake, simply pour all the batter into one greased and lined pan and bake for 35-45 minutes. The thicker depth means it needs more time in the center.
Because of the cream cheese frosting, the cake must be refrigerated. Store it in a cake carrier or loosely covered with foil in the fridge for up to 5 days. The oil in the cake keeps it moist. Let slices come to room temperature for about 30 minutes before serving for the best texture and flavor. You can freeze unfrosted layers tightly wrapped for up to 3 months.
The best quick fix is to add 1 tablespoon of white vinegar or lemon juice to a liquid measuring cup, then add enough whole milk to reach 1 cup. Stir and let it sit for 5-10 minutes until it curdles slightly. It works well in a pinch for this red velvet cake recipe, though real cultured buttermilk has a thicker texture.
Beyond the Classic: Fun Twists on the Red Velvet Cake Recipe
Once you've mastered the classic, playing with variations is fun. Here are a few ideas that actually work:
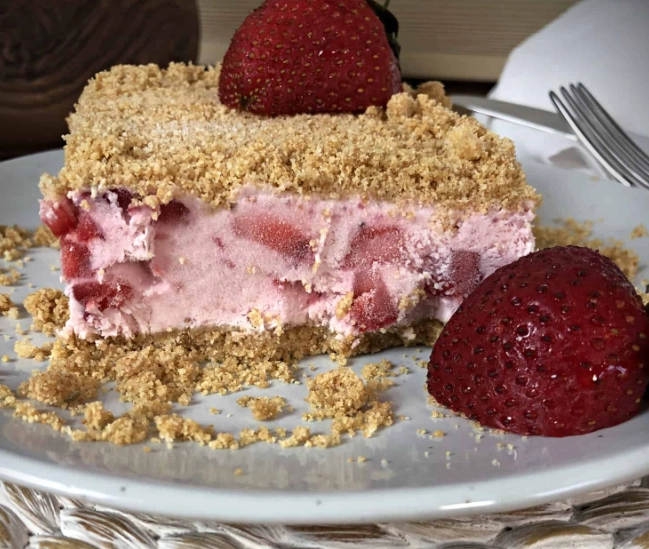
- Red Velvet Cheesecake Swirl: Pour half your red velvet batter into a pan. Dollop plain cheesecake batter (cream cheese, sugar, egg, vanilla) on top, then remaining red velvet batter. Swirl with a knife for a marbled masterpiece.
- Red Velvet Cake Balls/Pops: Crumble leftover cake (or bake a batch for this purpose) and mix with just enough cream cheese frosting to make a moldable dough. Roll into balls, chill, then dip in white or dark chocolate coating.
- Mini Layer Cakes: Bake the batter in a sheet pan. Once cool, use a round cutter to stamp out small circles. Stack 3-4 with frosting between for adorable individual servings.
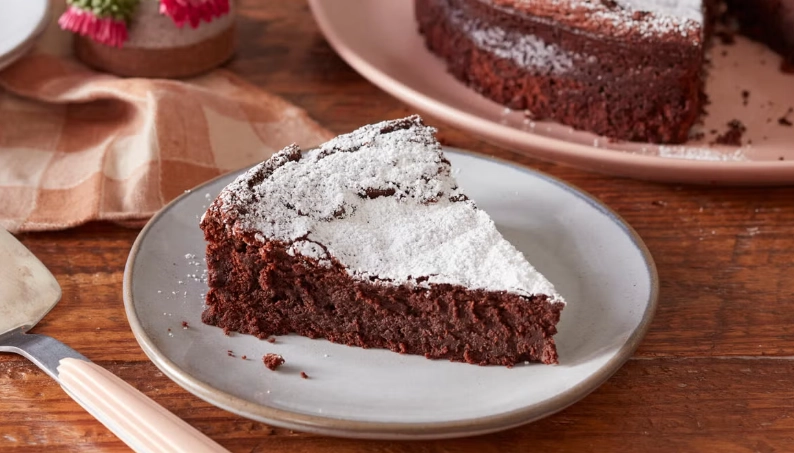
But honestly? My favorite version is still the classic two-layer cake. There's something about that perfect slice, with its stark red crumb against the white frosting, that never gets old.
The Final Slice: What Really Makes a Great Red Velvet Cake
It boils down to a few non-negotiable things. A moist, tender, and fine crumb—the "velvet." A balanced flavor with a distinct but not overpowering tang from the buttermilk and vinegar. A rich cocoa background, not a forward chocolate taste. A vibrant red color (if you're using dye) that doesn't taste artificial. And finally, a generous slather of a tangy, rich, and stable cream cheese frosting that complements without overwhelming.
It's a symphony, not a solo.
This red velvet cake recipe is built to deliver on all those points. It respects the history, understands the science, and focuses on technique. It might not be the shortest recipe out there, but it’s the one most likely to give you that perfect, iconic cake that makes people ask for the recipe. And now you have it, with all the secrets laid bare. Go bake it.

Leave a Comment